Big quotes. Huge quotes around “pizza.” This recipe is a play on a pizza. If you want actual pizza, I direct you to these two posts.
If you are looking for a fun snack or party food – healthy and gluten-free while you’re at it – you have come to the right place.
At a somewhat-recent Cooking Club (Hostess: SLSC; Theme: Pizza; Date: 06.28.15), we explored all sorts of new crusts, sauces, and toppings for this classic favorite. I selected a quinoa crust variety. The hostess made a Pinterest board for the options, and my comment on my selection was “Skeptical, but I will try it.” Once I read through the recipe and description of the quinoa crust, I knew that a standard tomato-sauce-and-mozzarella topping was not going to cut it. I had made an experimental chicken tikka masala the day before, and I made extra sauce, which I thickened up and used as the pizza sauce. I topped that sauce with the sliced chicken tikka. It was different, and a fun twist.
But then my mind started turning. The possibilities were endless!
This gluten free quinoa crust has only TWO main ingredients: quinoa and water. That’s it! Do you even count water? I never understand the rules on “two ingredient” and “three ingredient” recipes. I also add salt to this crust (it really needs some), and you can add herbs and spices to your liking, like garlic powder, paprika, oregano, cayenne. I bet some shredded or grated cheese stirred in, brown and crisp when it hits the skillet, would be divine… but let’s stay healthy for now.
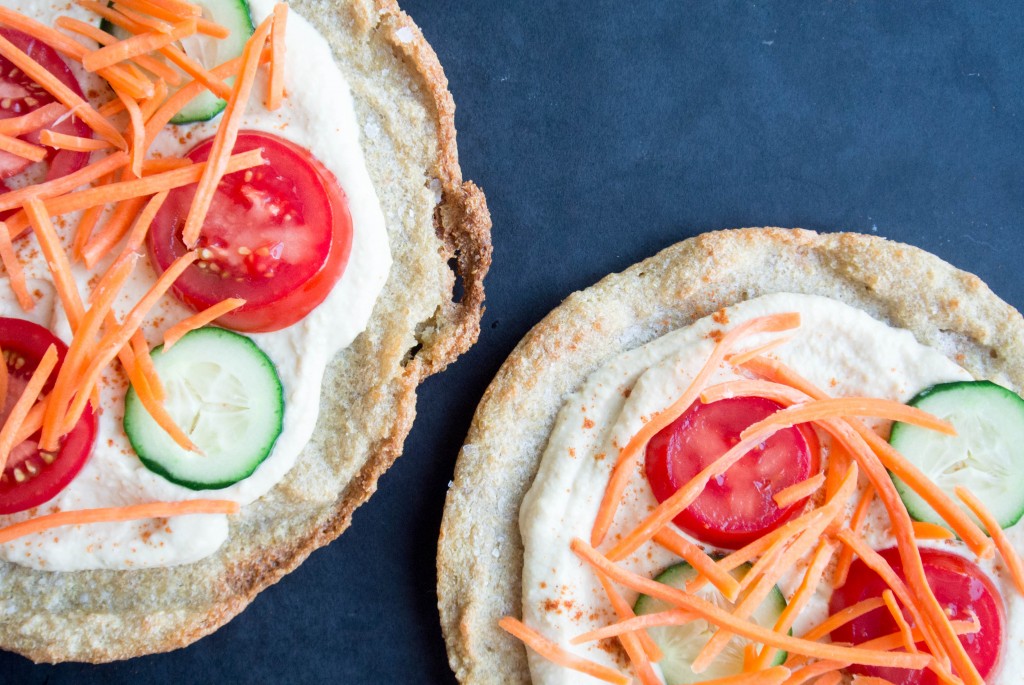
I usually don’t type out the recipe with so much description, but this one calls for a bit of direction, and the crust may take you two tries to perfect. I am not a cast iron skillet devotee (boo! hiss! I hear you.) but they really are aces for this recipe, so if you have one, use it. If you don’t, a pyrex pie pan is second-best. I have two 6″ mini-skillets that came with something called a “Skookie” (a portmanteau of “skillet cookie”) that my mom got me as a present some time or other from a sale table somewhere, and they have been SO useful for so many random things. So useful, in fact, that I’m annoyed I let them sit in the box for like 5 years before using them. Or 7? I digress… These photos show the crusts made in the mini-skillets.
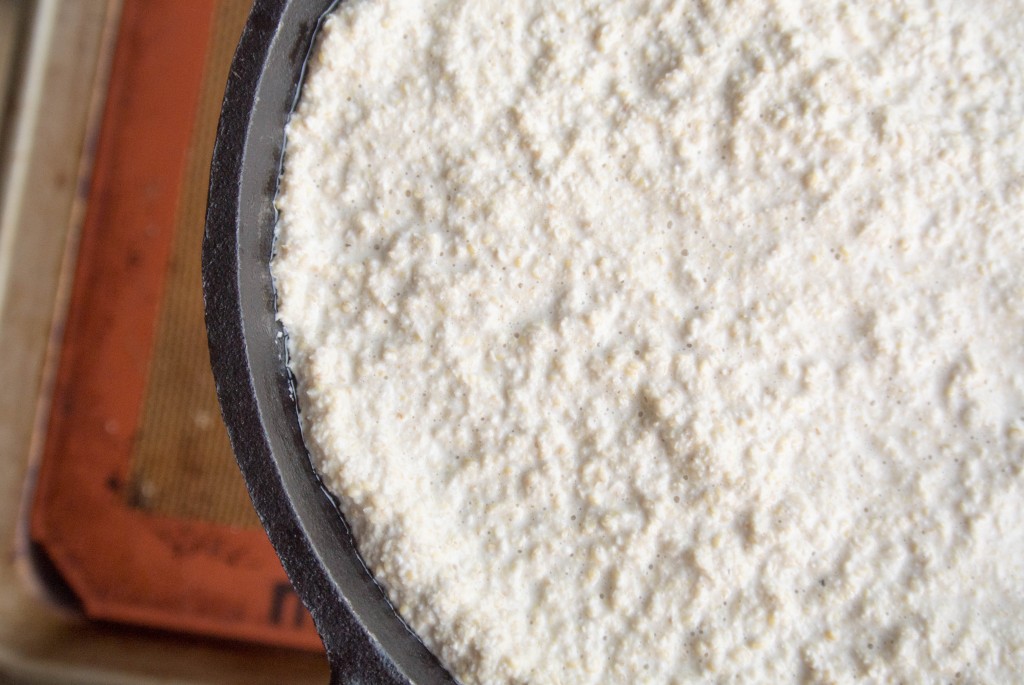
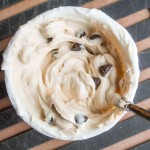
You need to soak the quinoa for 4 to 8 hours. Overnight is fine, or when you wake up on a weekend, or while you’re at work. If you notice the water getting cloudy during the soak, feel free to swap it out. When it’s time to make the crust, use a pastry brush to thinly coat the inside of a cast iron skillet (or pyrex pie pan) with oil, and preheat the oven to 450 with the oiled skillet inside. Drain the quinoa, and place about a half cup of it in a mini-prep food processor. Add a quarter cup of water, and process until the quinoa breaks up. The quinoa batter should be the consistency of pancake batter – add more water if you need to. If you are like me and that description is not actually helpful to you because you don’t make a lot of pancakes, here is a picture that should help: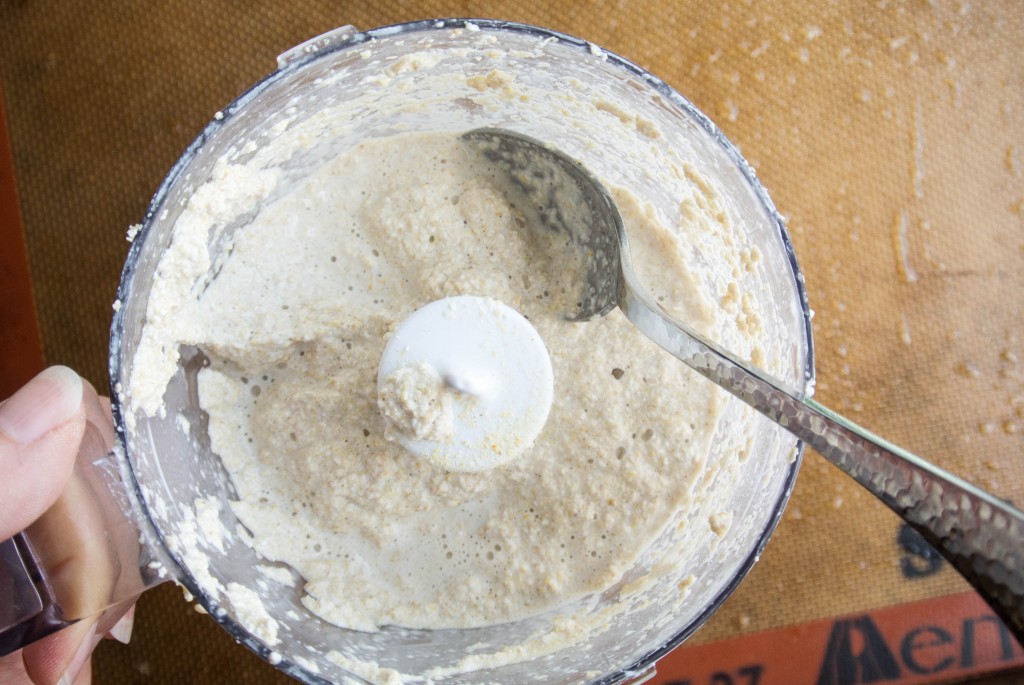
When the skillet or pie pan is preheated, carefully remove it from the oven and place it on a flat, sturdy surface (covered with an appropriate heat shield). Add the quinoa batter in a thin layer, spreading it carefully to coat the skillet. Note, the quinoa batter will start cooking right away when it hits the hot oil, so work quickly and with a firm but light hand. Spots where the batter is too thin will pull back and leave holes.
Ready to go in the oven.
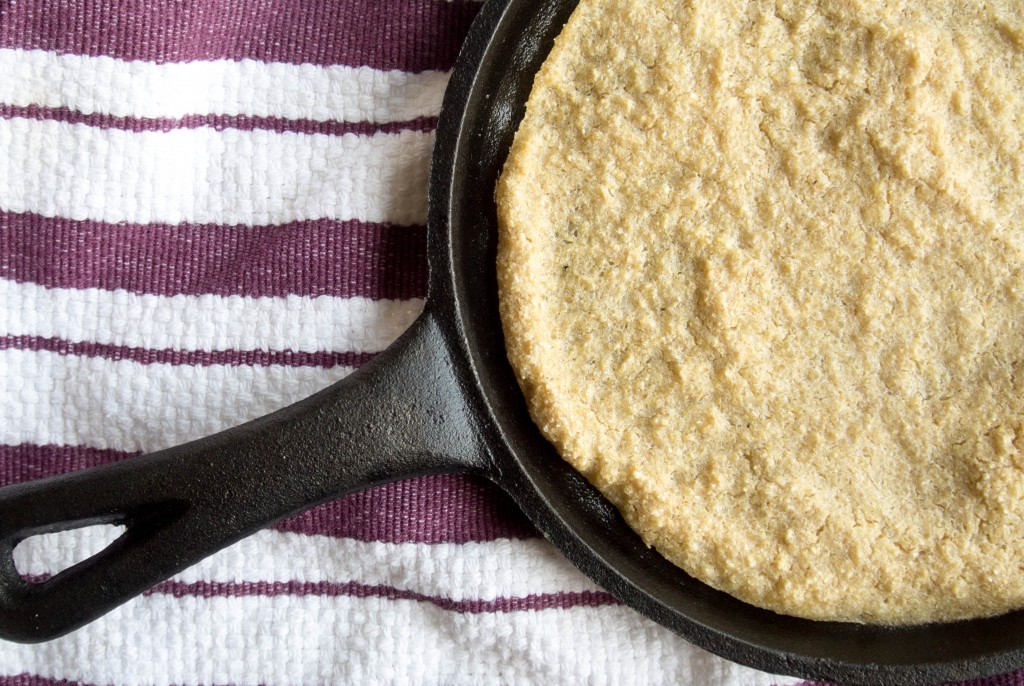
After 10 minutes, when the crust is lightly browned, being careful of the VERY HOT handle, use a spatula to flip over the quinoa crust.
If you are using a cast iron skillet, the bottom will likely be perfectly browned, like this: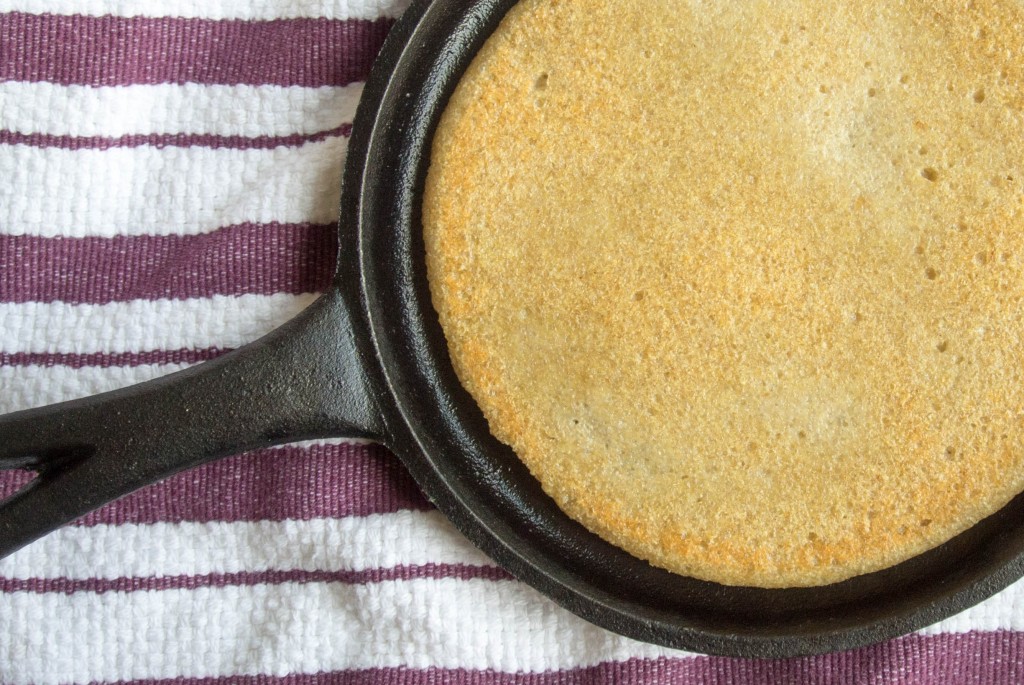
If you are using a glass pan, you may need to scrape a little harder to loosen the crust from the pan. But I have done it this way as well, and it’s fine. The cast iron is just so smooth!
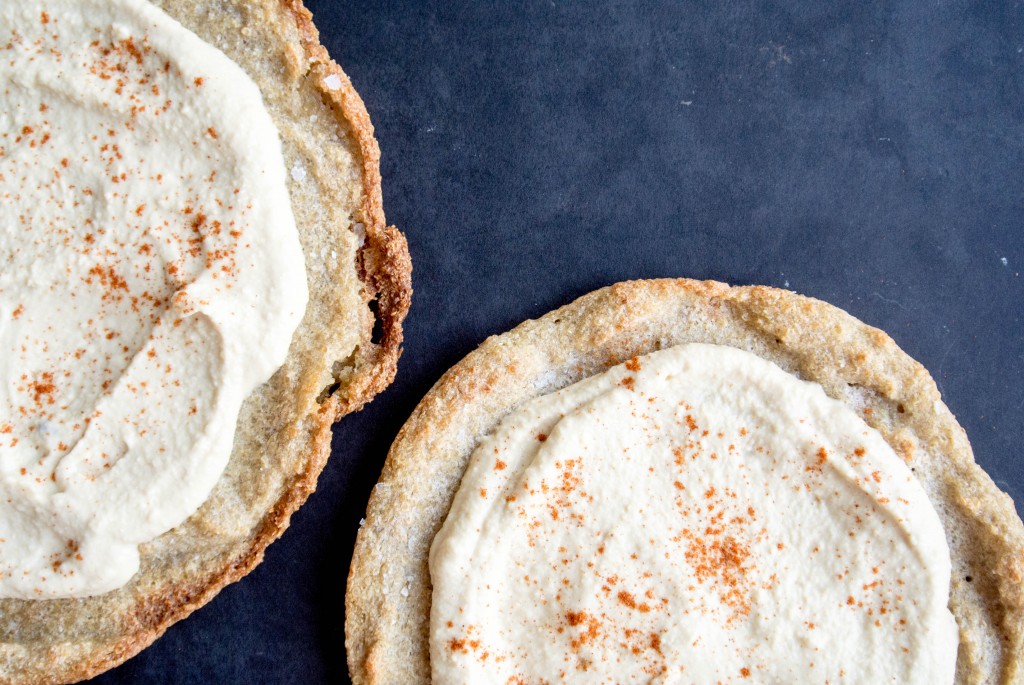
When it’s ready for toppings, start with hummus.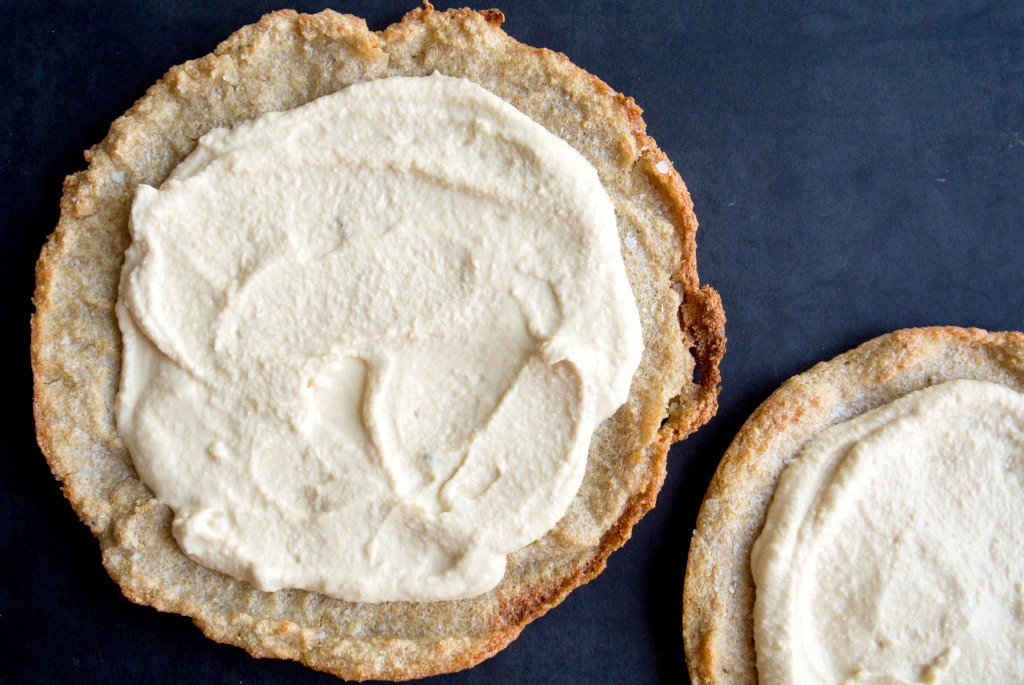
A sprinkle of sweet paprika adds some color, and the flavor works well with the hummus.
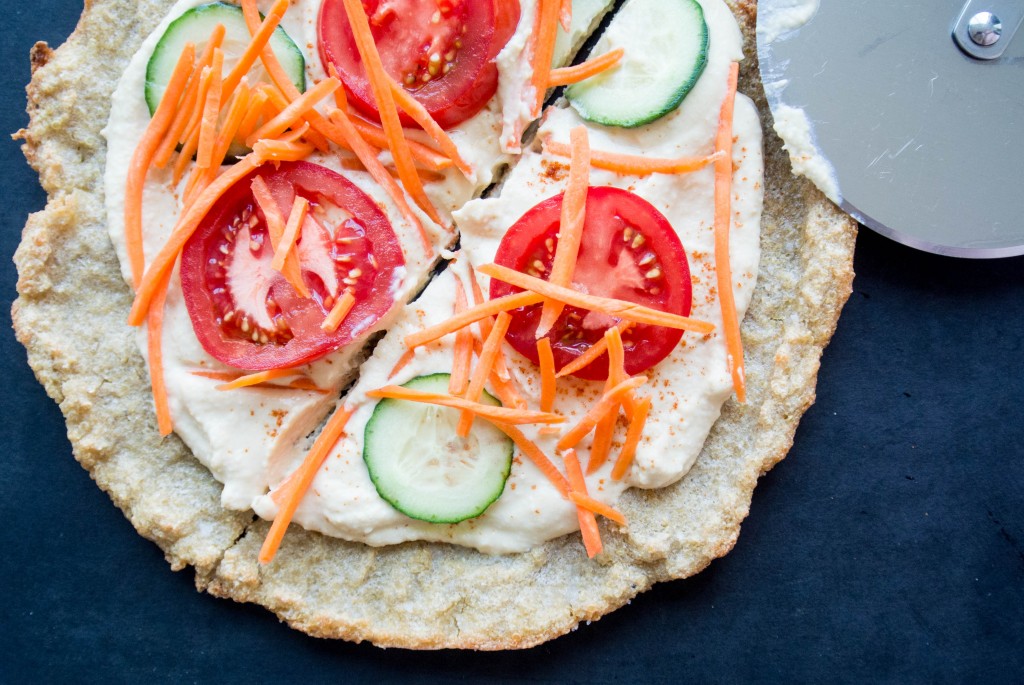
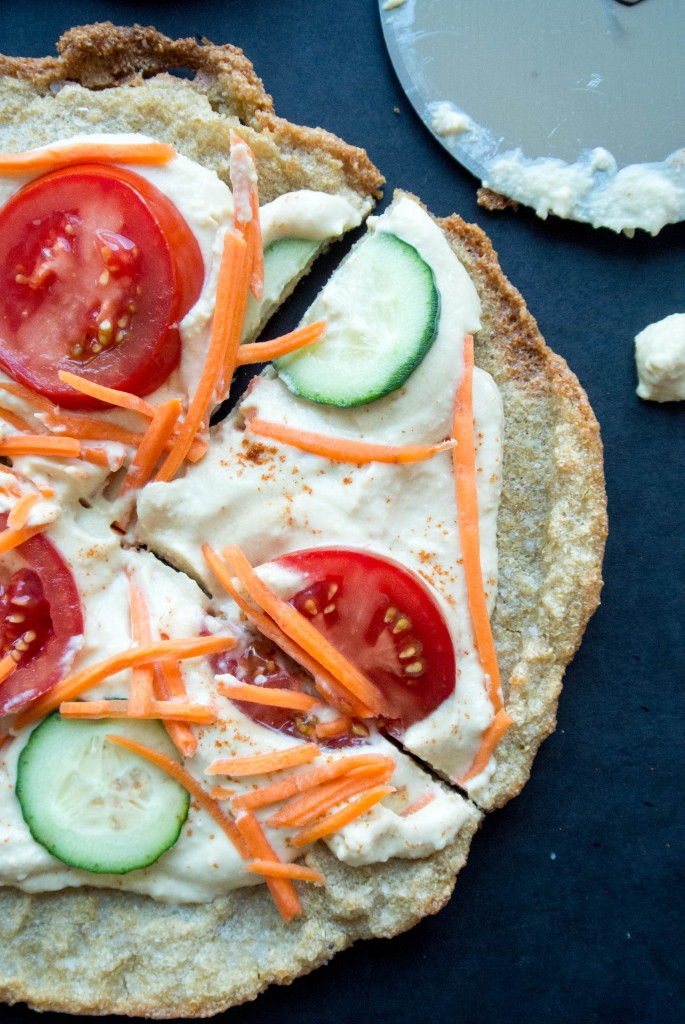
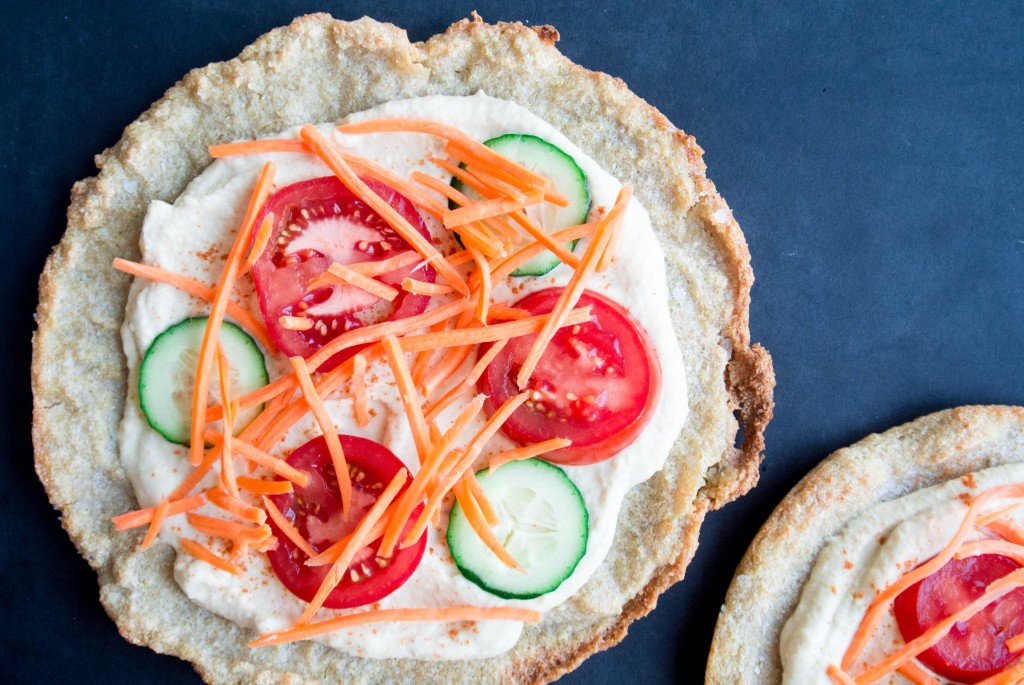
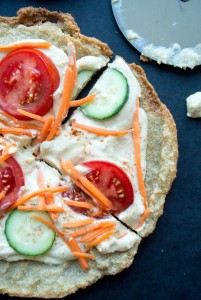
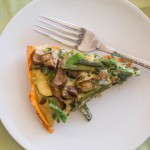
Top with your favorite veggies. Here, I played with the “pizza” theme and used round veggies and shredded carrots to approximate pizza toppings and shredded cheese. I placed very thinly-sliced campari tomatoes, seedless cucumber, and shredded carrots on the hummus. Try shaving veggies on top, or throwing on a handful of arugula! Slice with a pizza cutter and serve.
- 1 c quinoa
- 1 c water {you may not use it all}
- canola oil for thinly coating the skillet
- 1 t kosher salt
- .5 - 1 t garlic powder
- hummus, sweet paprika, and sliced or shaved veggies for toppings
- Place the quinoa in a bowl and cover with water. Let soak 4-8 hours.
- When it’s time to make the crust, use a pastry brush to cover the inside of a 9" cast iron skillet (or pyrex pie pan) with canola oil, and heat the oven to 450 with the oiled skillet inside.
- Drain the quinoa, and place about a half cup of it in a mini-prep food processor. Add a quarter cup of water, and process until the quinoa breaks up. The quinoa batter should be the consistency of pancake batter – add more water if you need to. Add half of the salt and garlic powder, and process again to combine.
- Repeat with the second half cup of quinoa, either in the same batch if it fits, or in a second batch.
- When the skillet is preheated, carefully remove it from the oven and place it on a flat, sturdy surface.
- Add the quinoa batter in a thin layer, spreading it carefully to coat the skillet. The batter should be about ¼" thick, but err on the side of thicker if you are ever in doubt.
- After 10 minutes, being careful of the VERY HOT handle, use a spatula to flip the quinoa over.
- Cook for 10 more minutes on the other side.
- Carefully remove from the oven, and transfer the crust to a cutting board.
- Cool a bit, and top as desired. Here, I used hummus, sweet paprika, and sliced tomatoes and seedless cucumbers, sprinkled with shredded carrots.
- Cut with pizza cutter and serve!
Crust recipe adapted from: http://positively-healthy.com/quinoa-pizza-crust/



Tell me what you think!