 Guess what. You have ONE day until New Year’s resolutions begin. One more day to live it up before it’s back to salads and the overcrowded January gym for you. I hope you enjoy it!
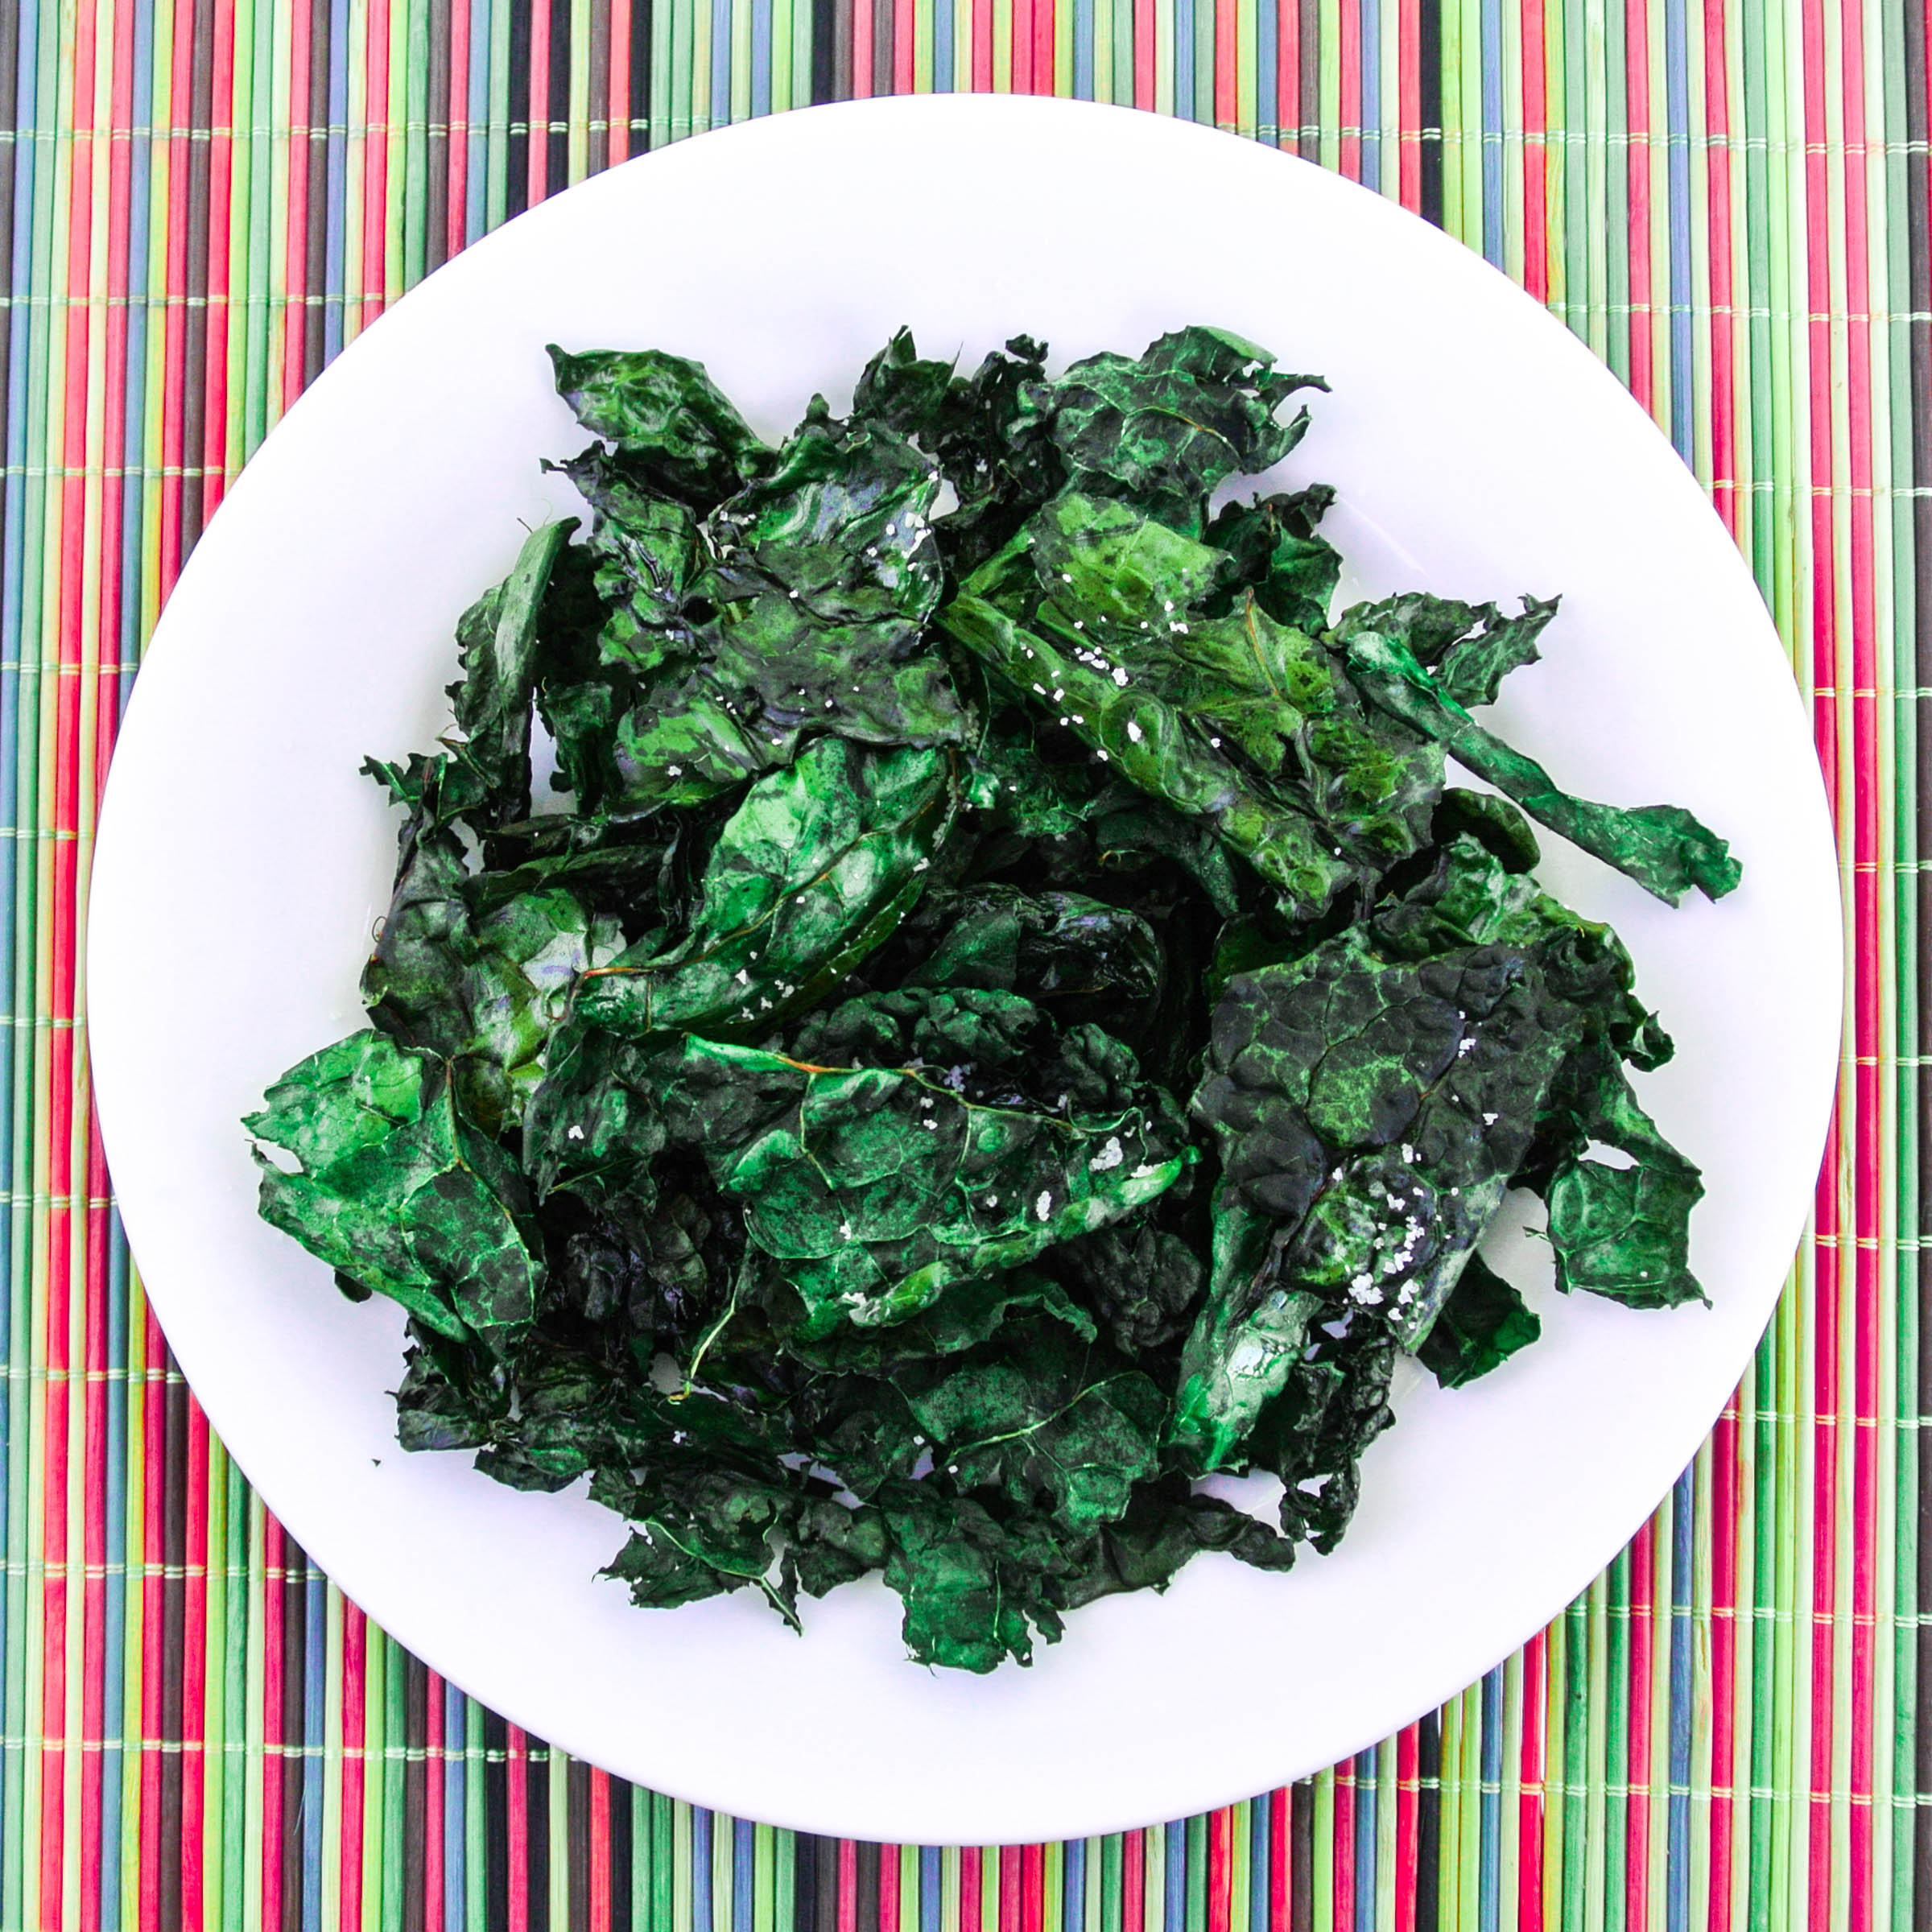
I will start the January detox one day early for you, with Kale Chips. If you have not yet tried Kale Chips, SPOILER ALERT: they are not chips. They are kale. Kale that has been baked until crisp.
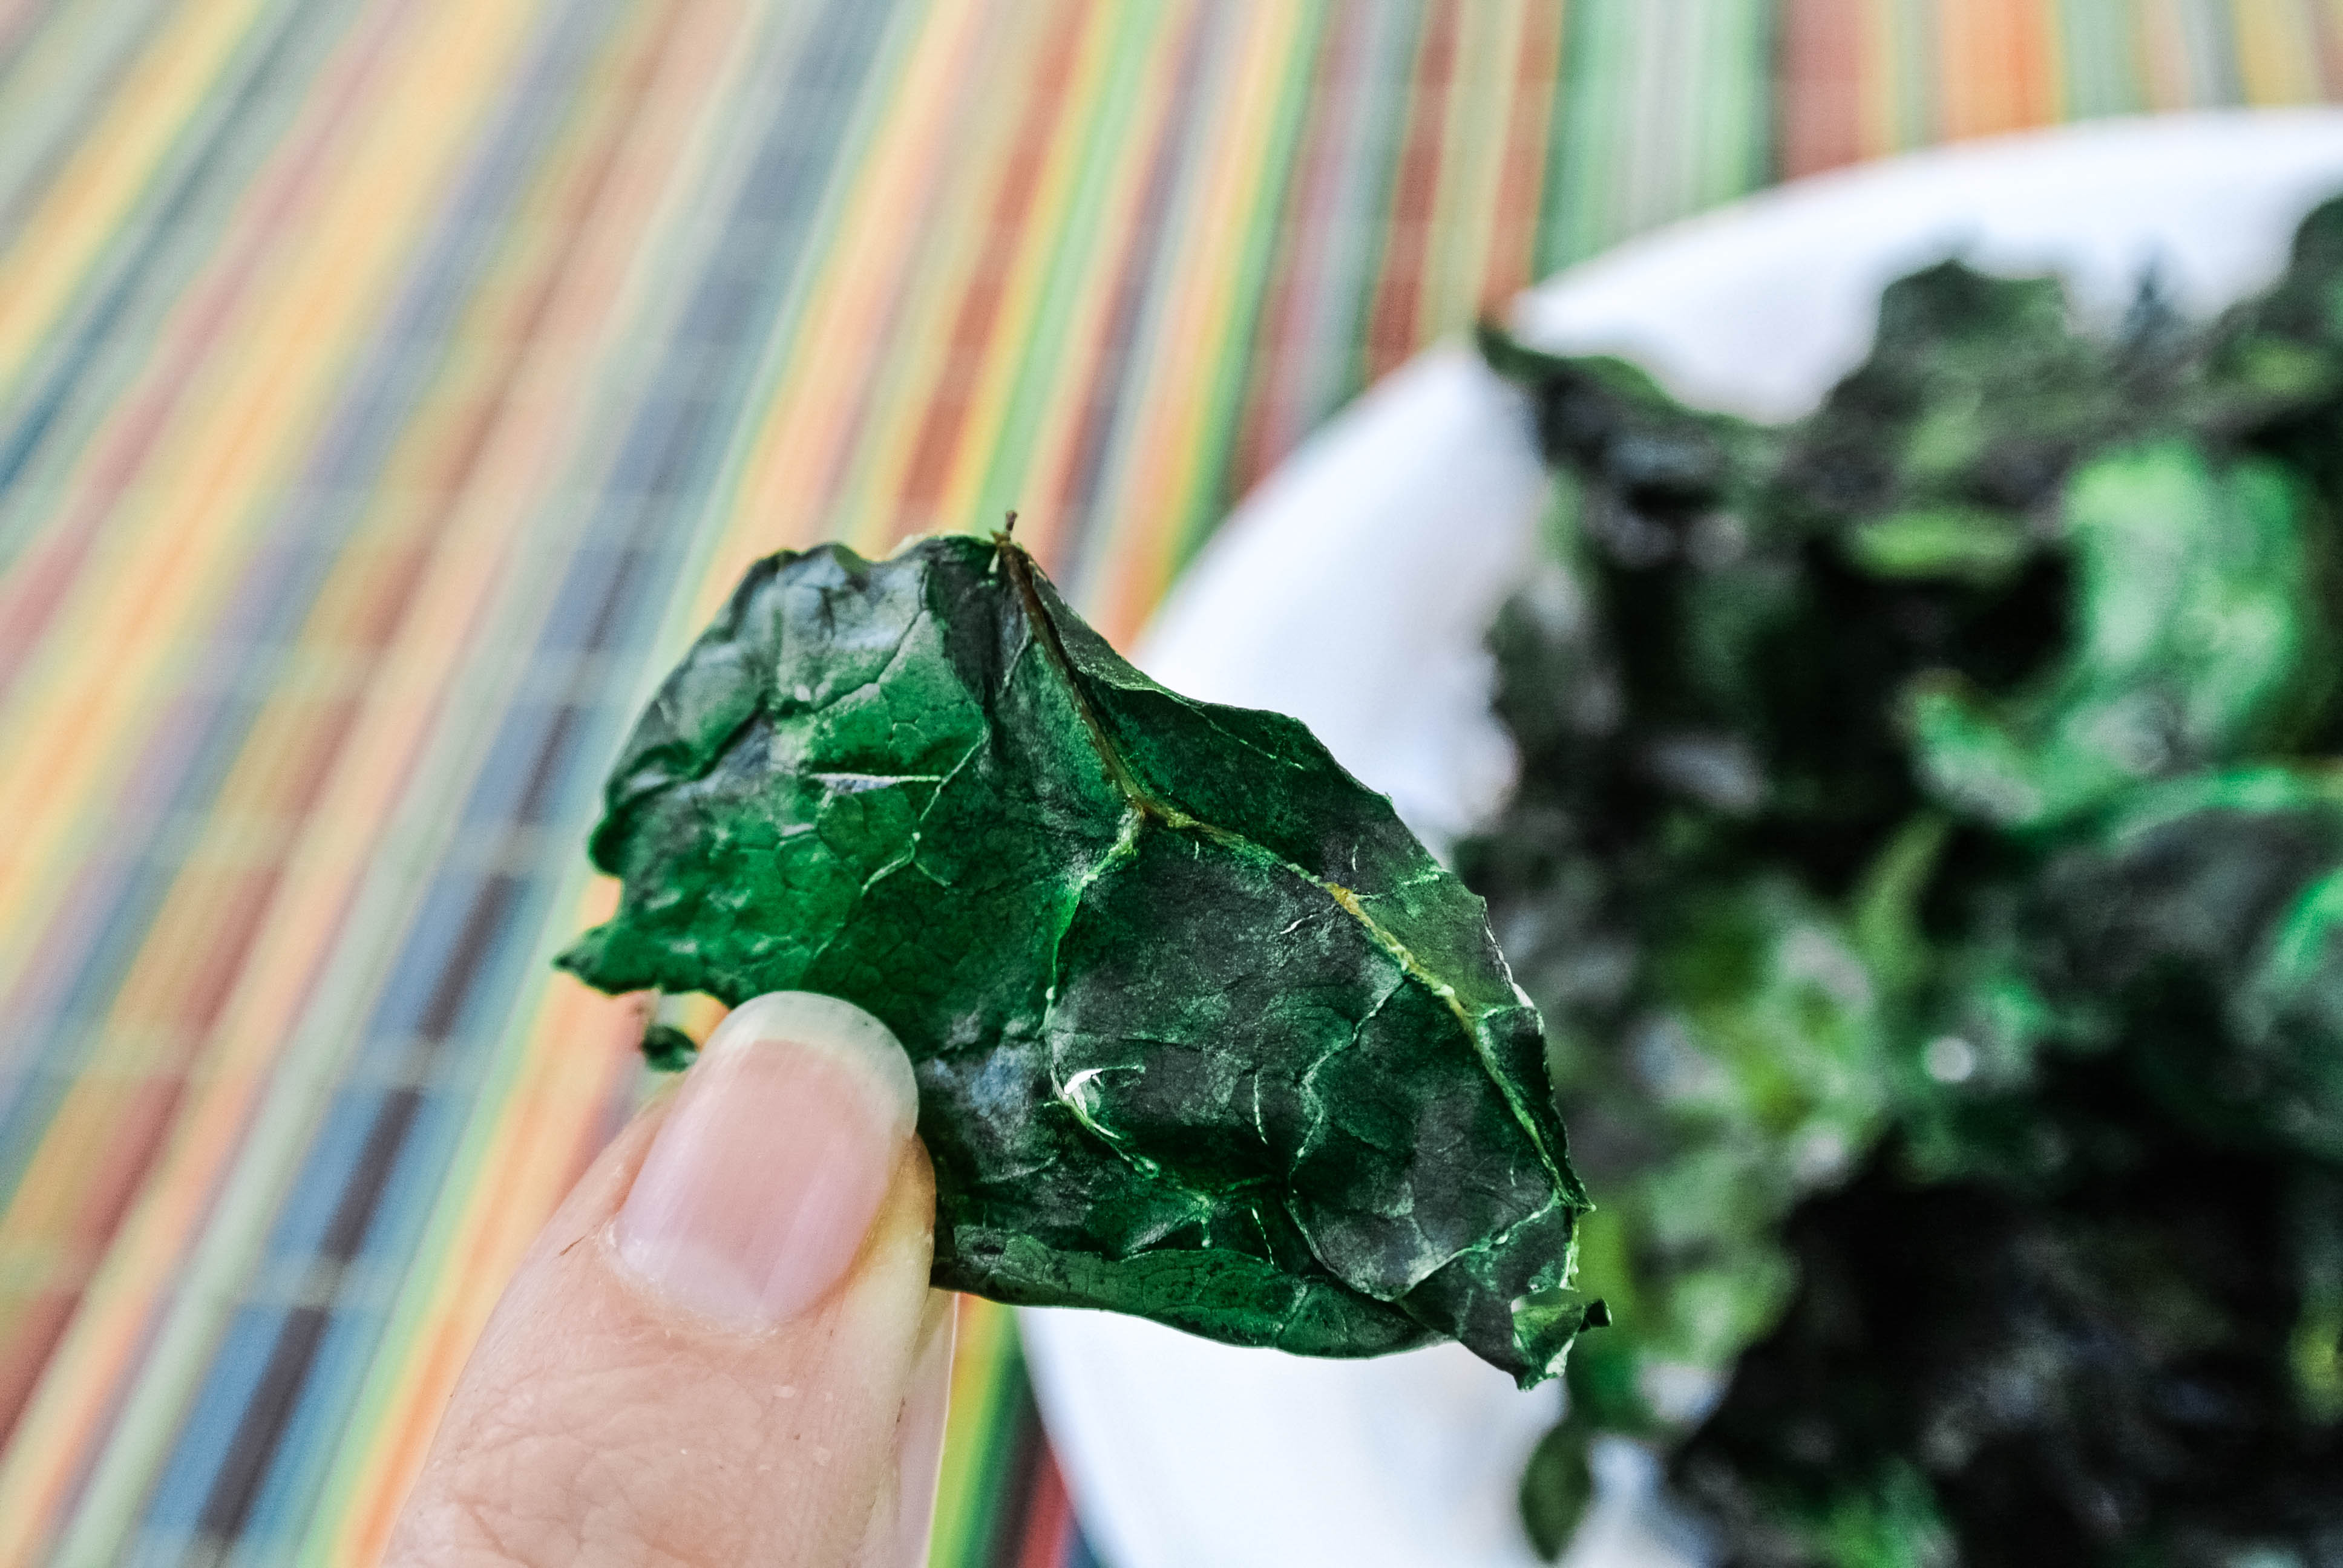
Kale Chips are a super-healthy, super-crunchy dish that you can make with two ingredients: a bunch of kale and a bit of extra virgin olive oil. I recommend a pinch of salt as well, but that is up to you. And they are super-easy to make.
Step 1: Select the kale. I use lacinato kale for every kale recipe I have made. I prefer its texture to that of curly kale. If you “don’t like kale” but have only tried curly kale, why don’t you give lacinato (aka dinosaur aka tuscan) kale a try. It looks like a darker, thicker romaine lettuce (but you buy it in a bunch rather than in a head). If you don’t know if your local grocery store carries it, just call first. It is always at my local Whole Foods, farmer’s markets, and a few other stores I frequent – but it’s not everywhere all the time.
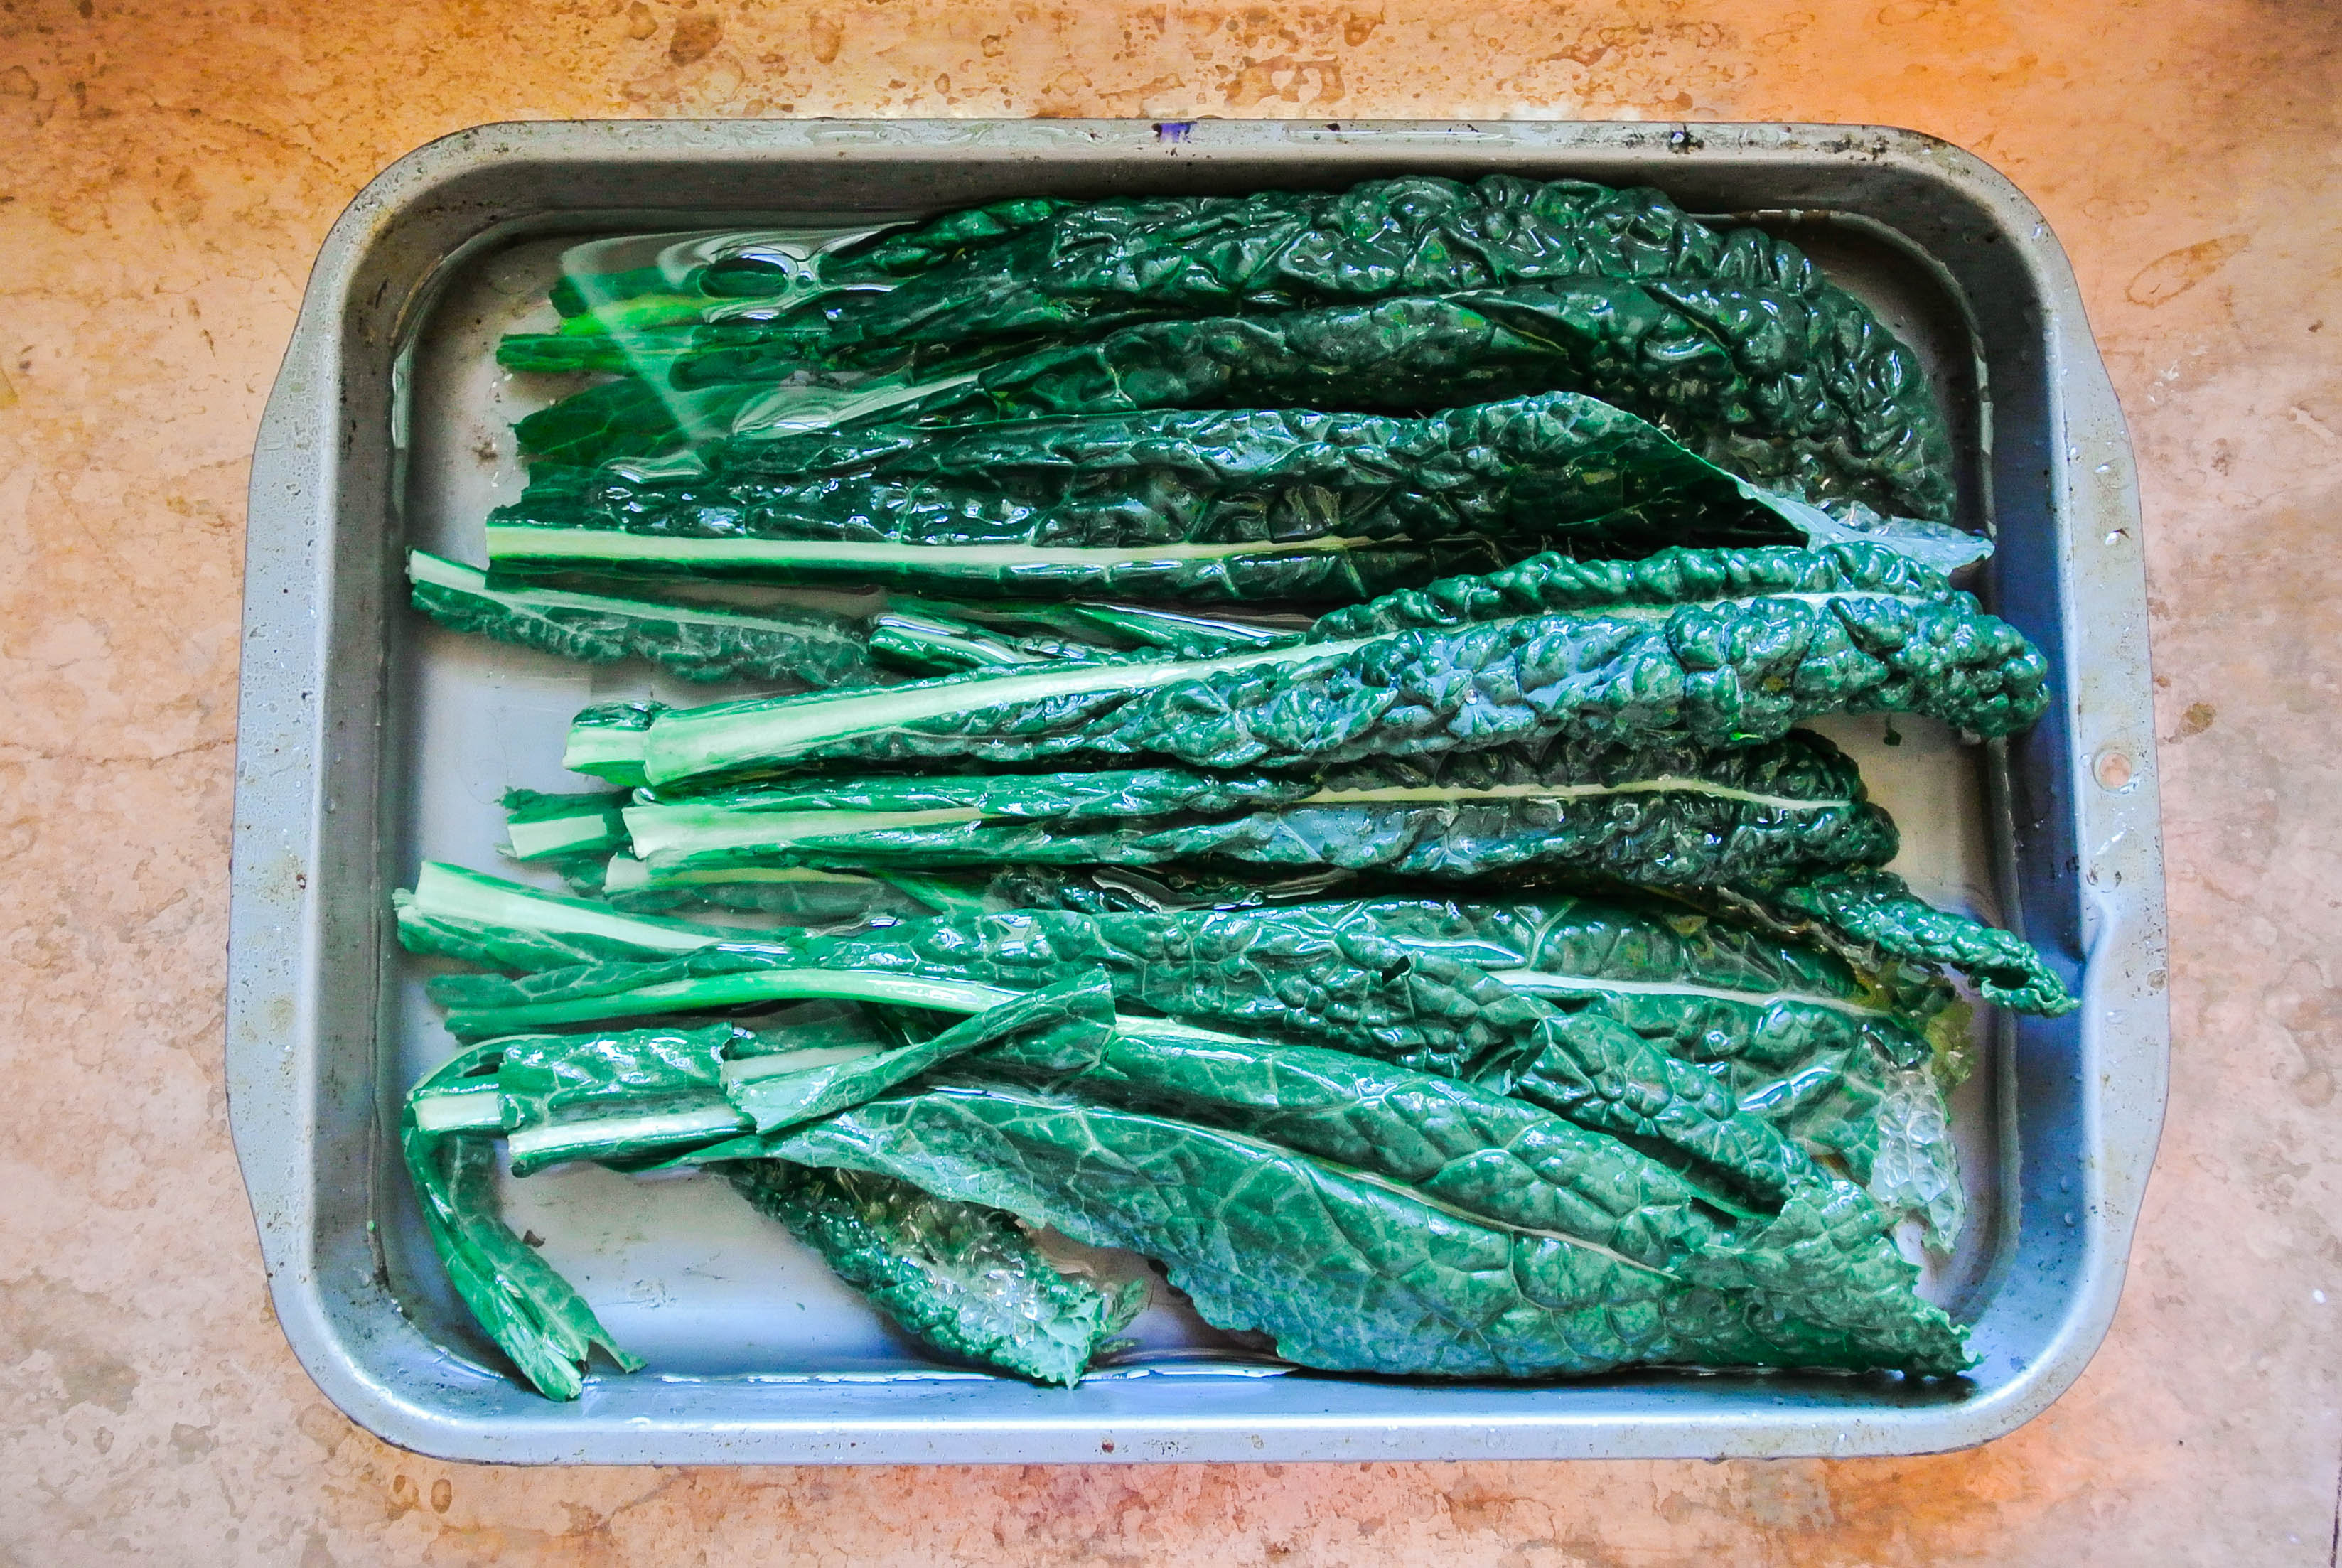 Step 2: Wash the kale. I have been washing my leafy greens in a large baking dish recently – they fit perfectly, and I just fill the dish with water and shake/scrub the greens in the water, drain, and repeat a few times.
 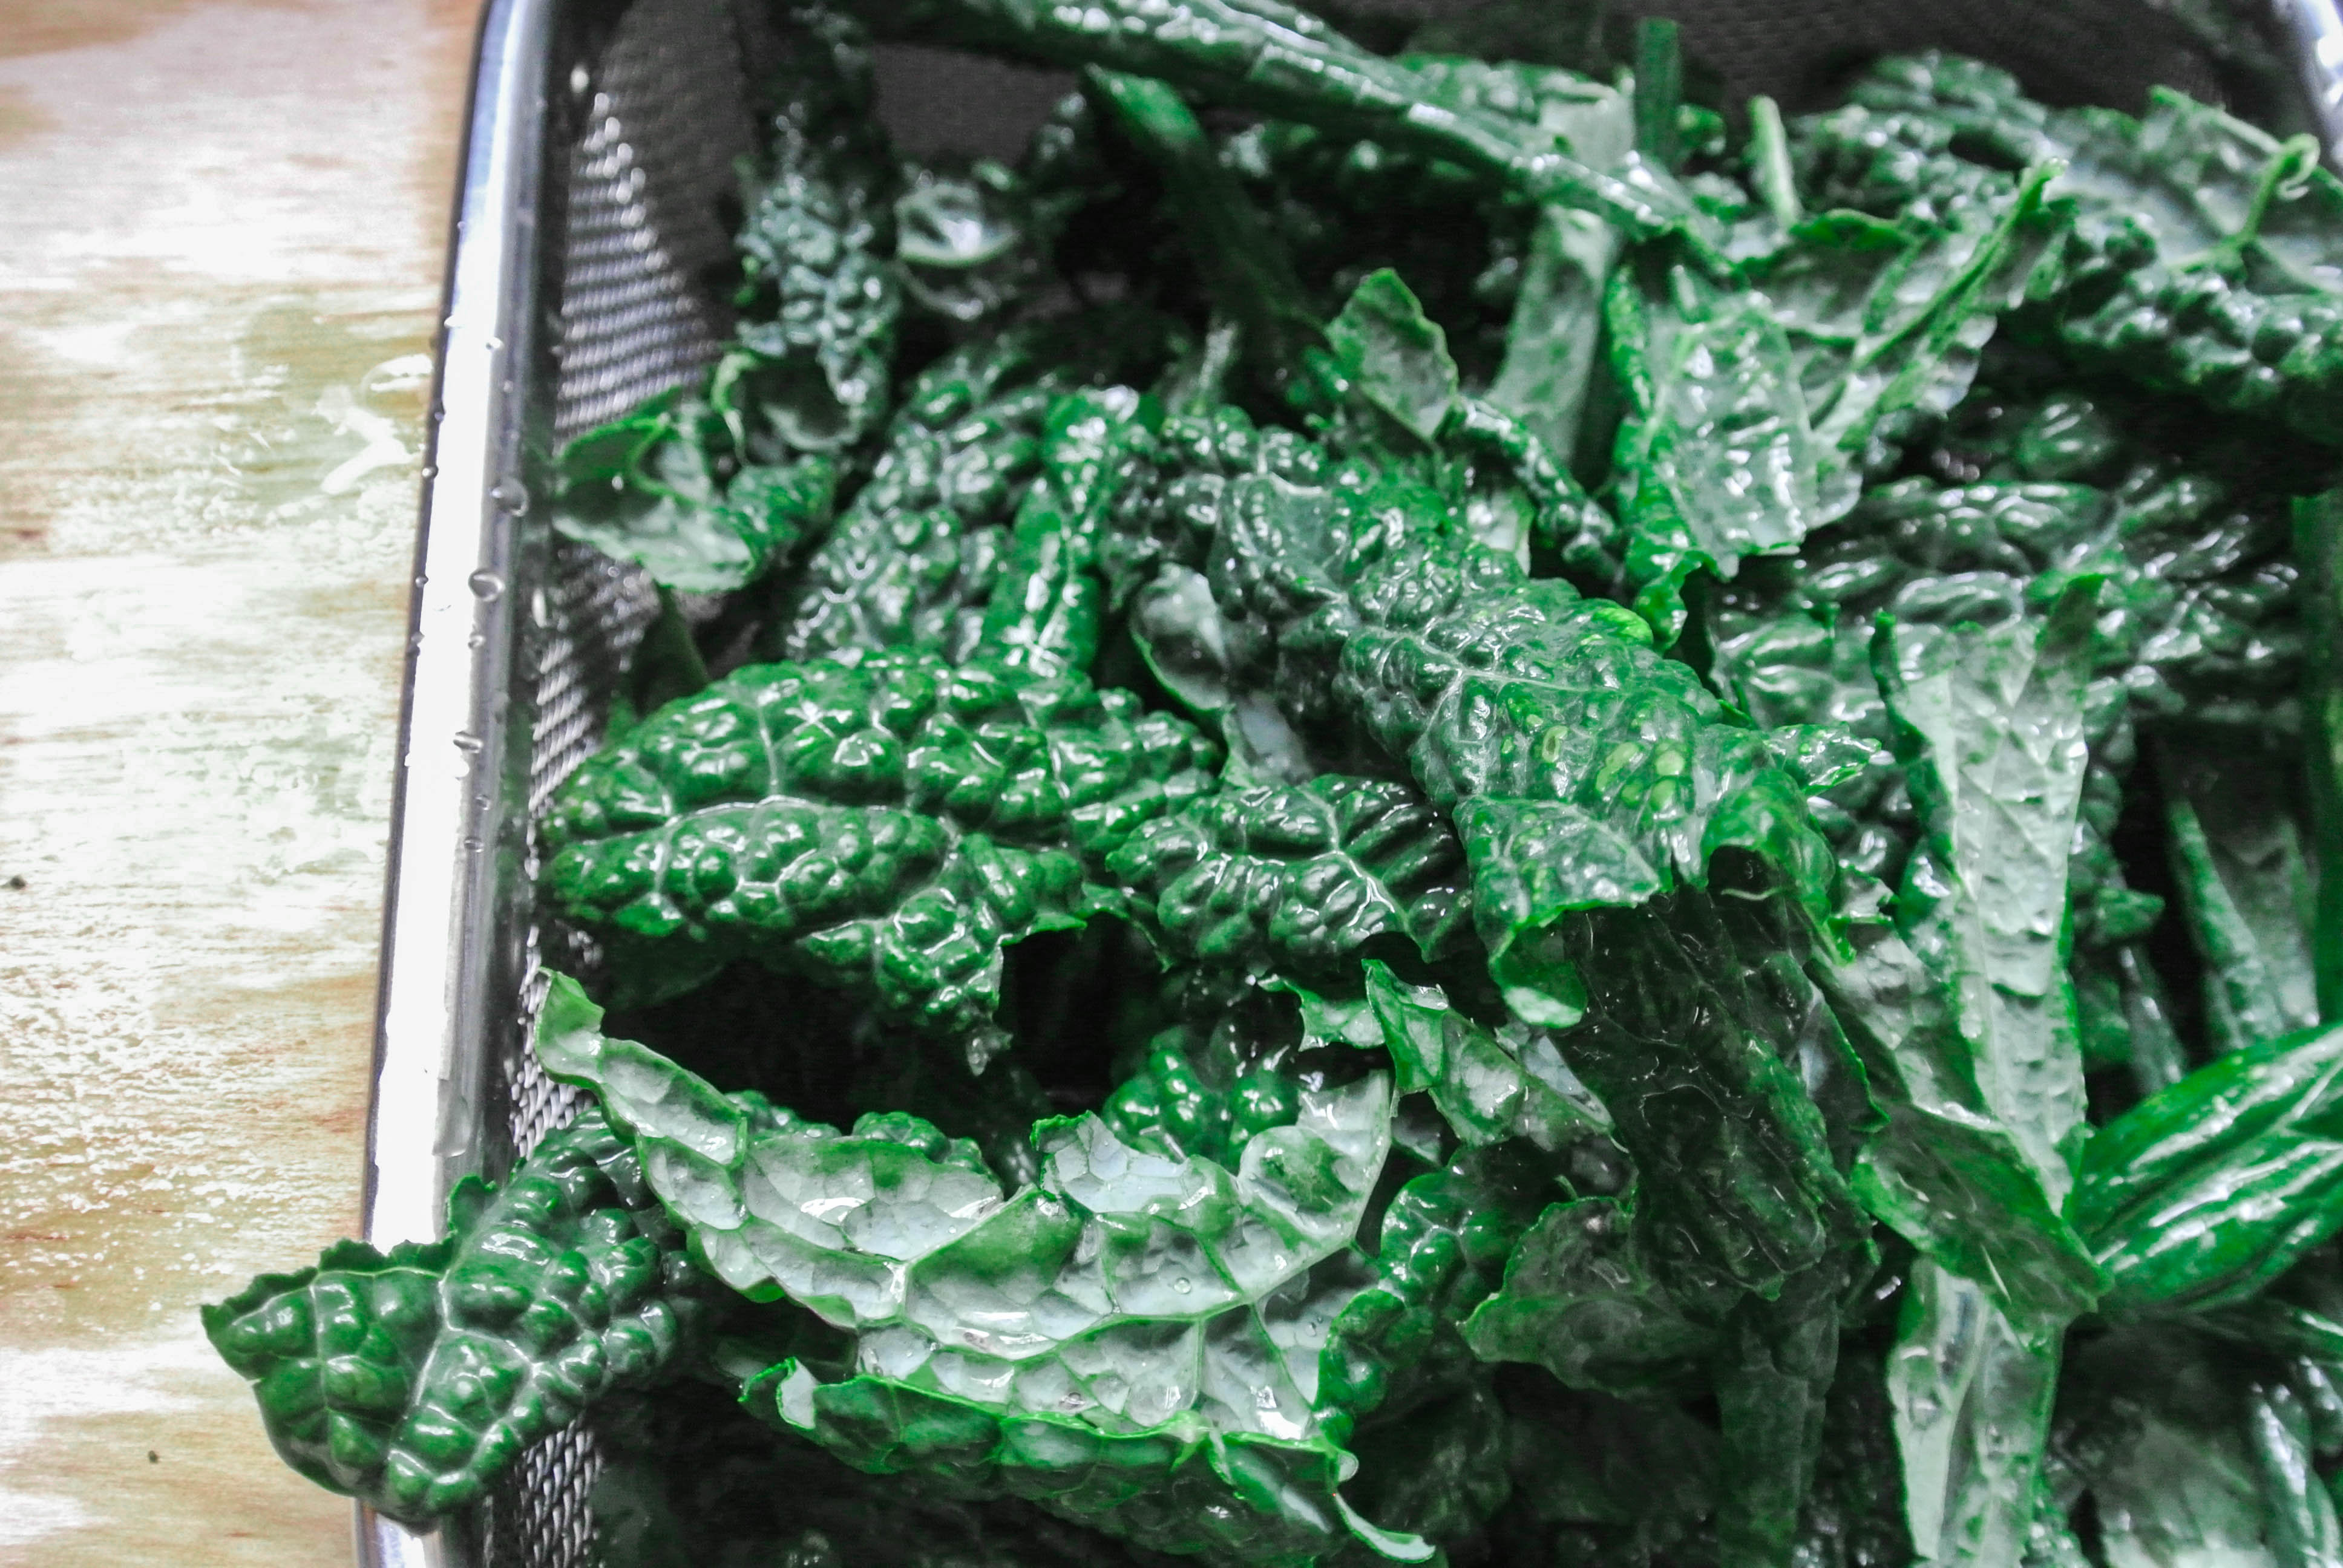 Of course, you can also tear them first and use a colander (I just find the leaves are just a bit long to fit in the colander whole).
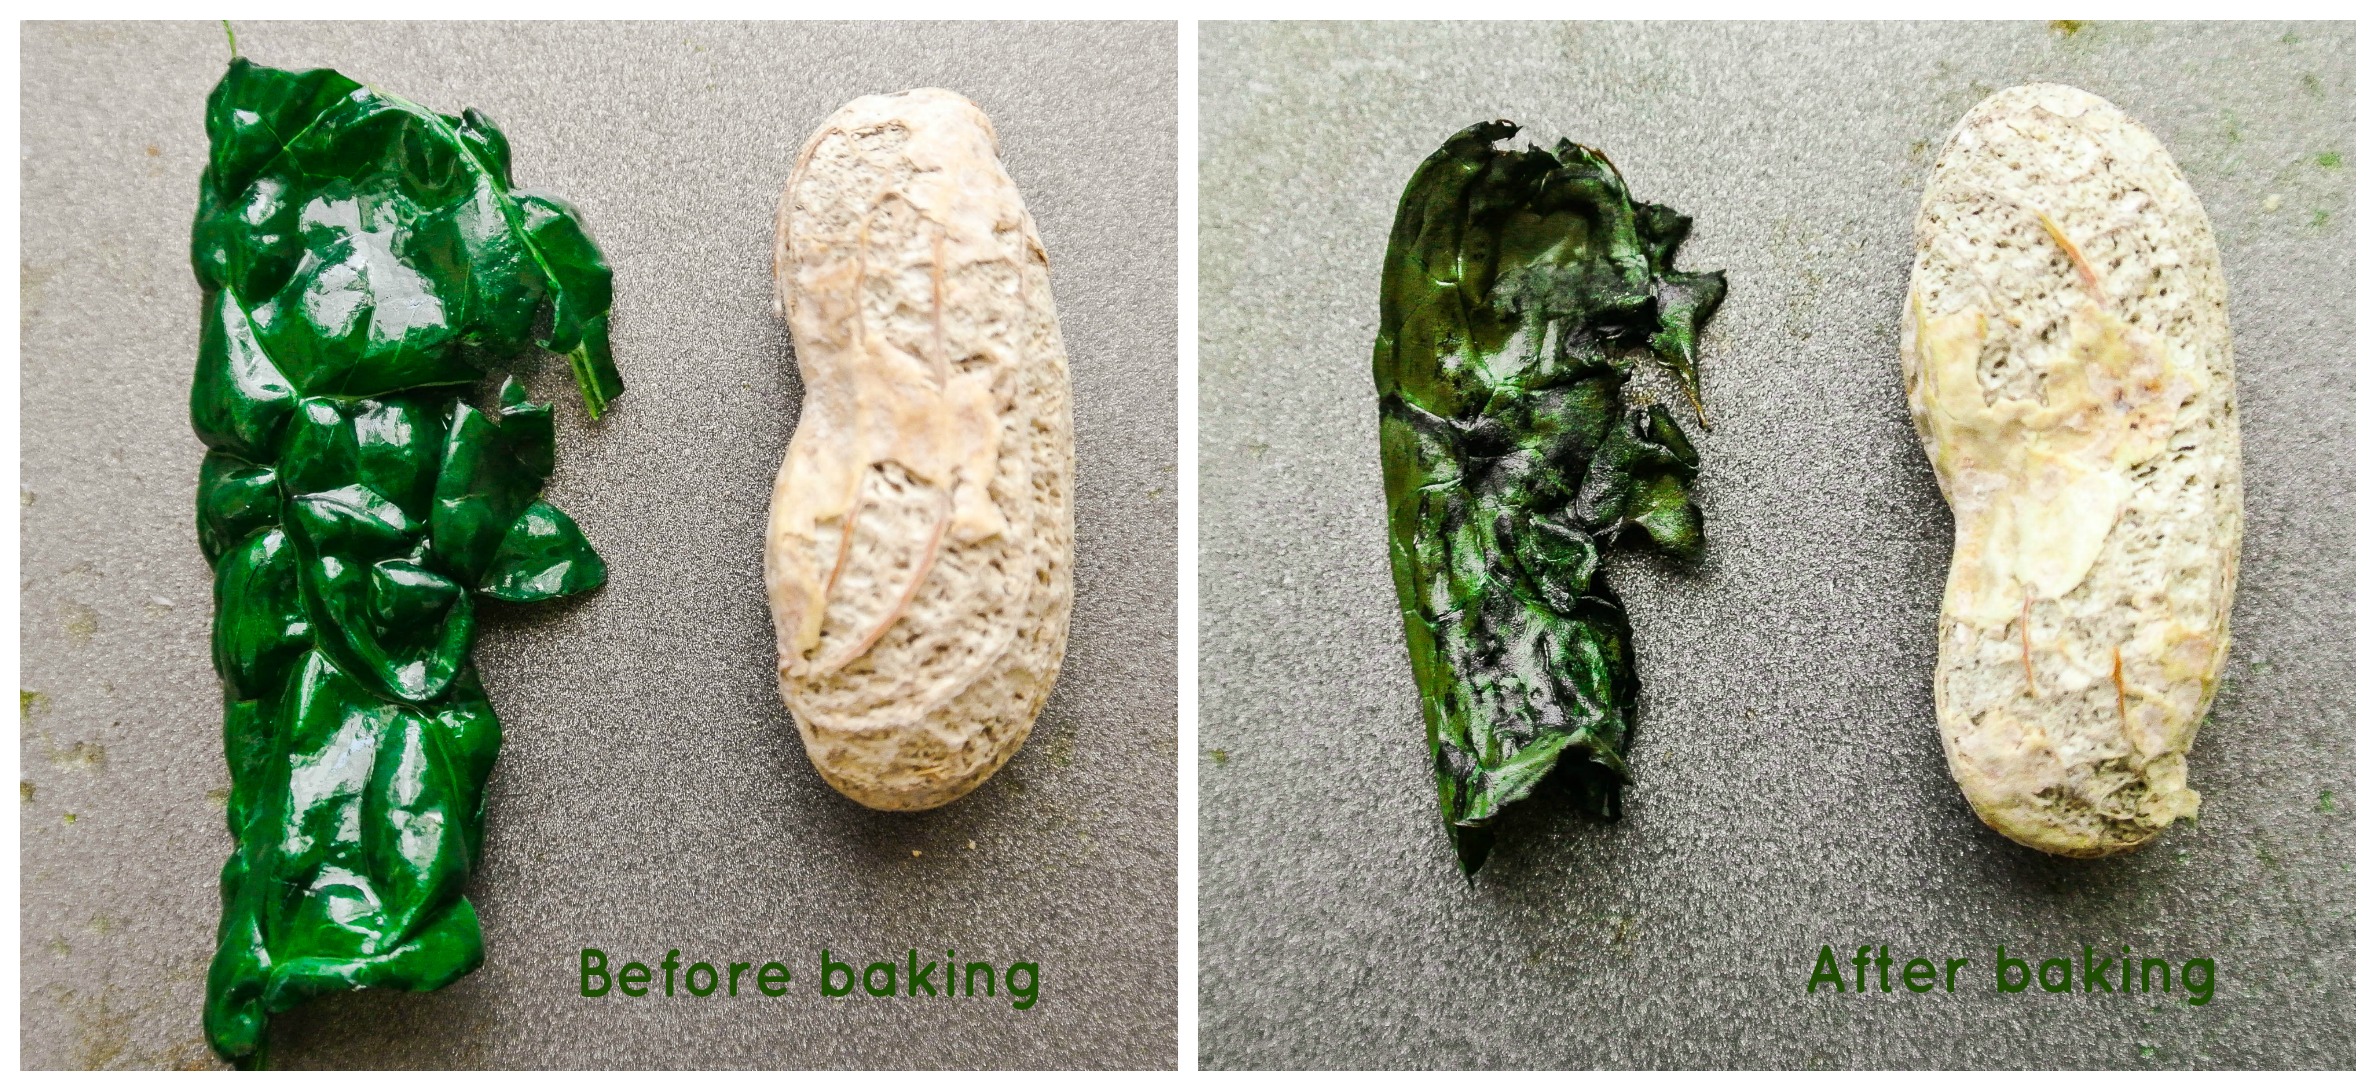
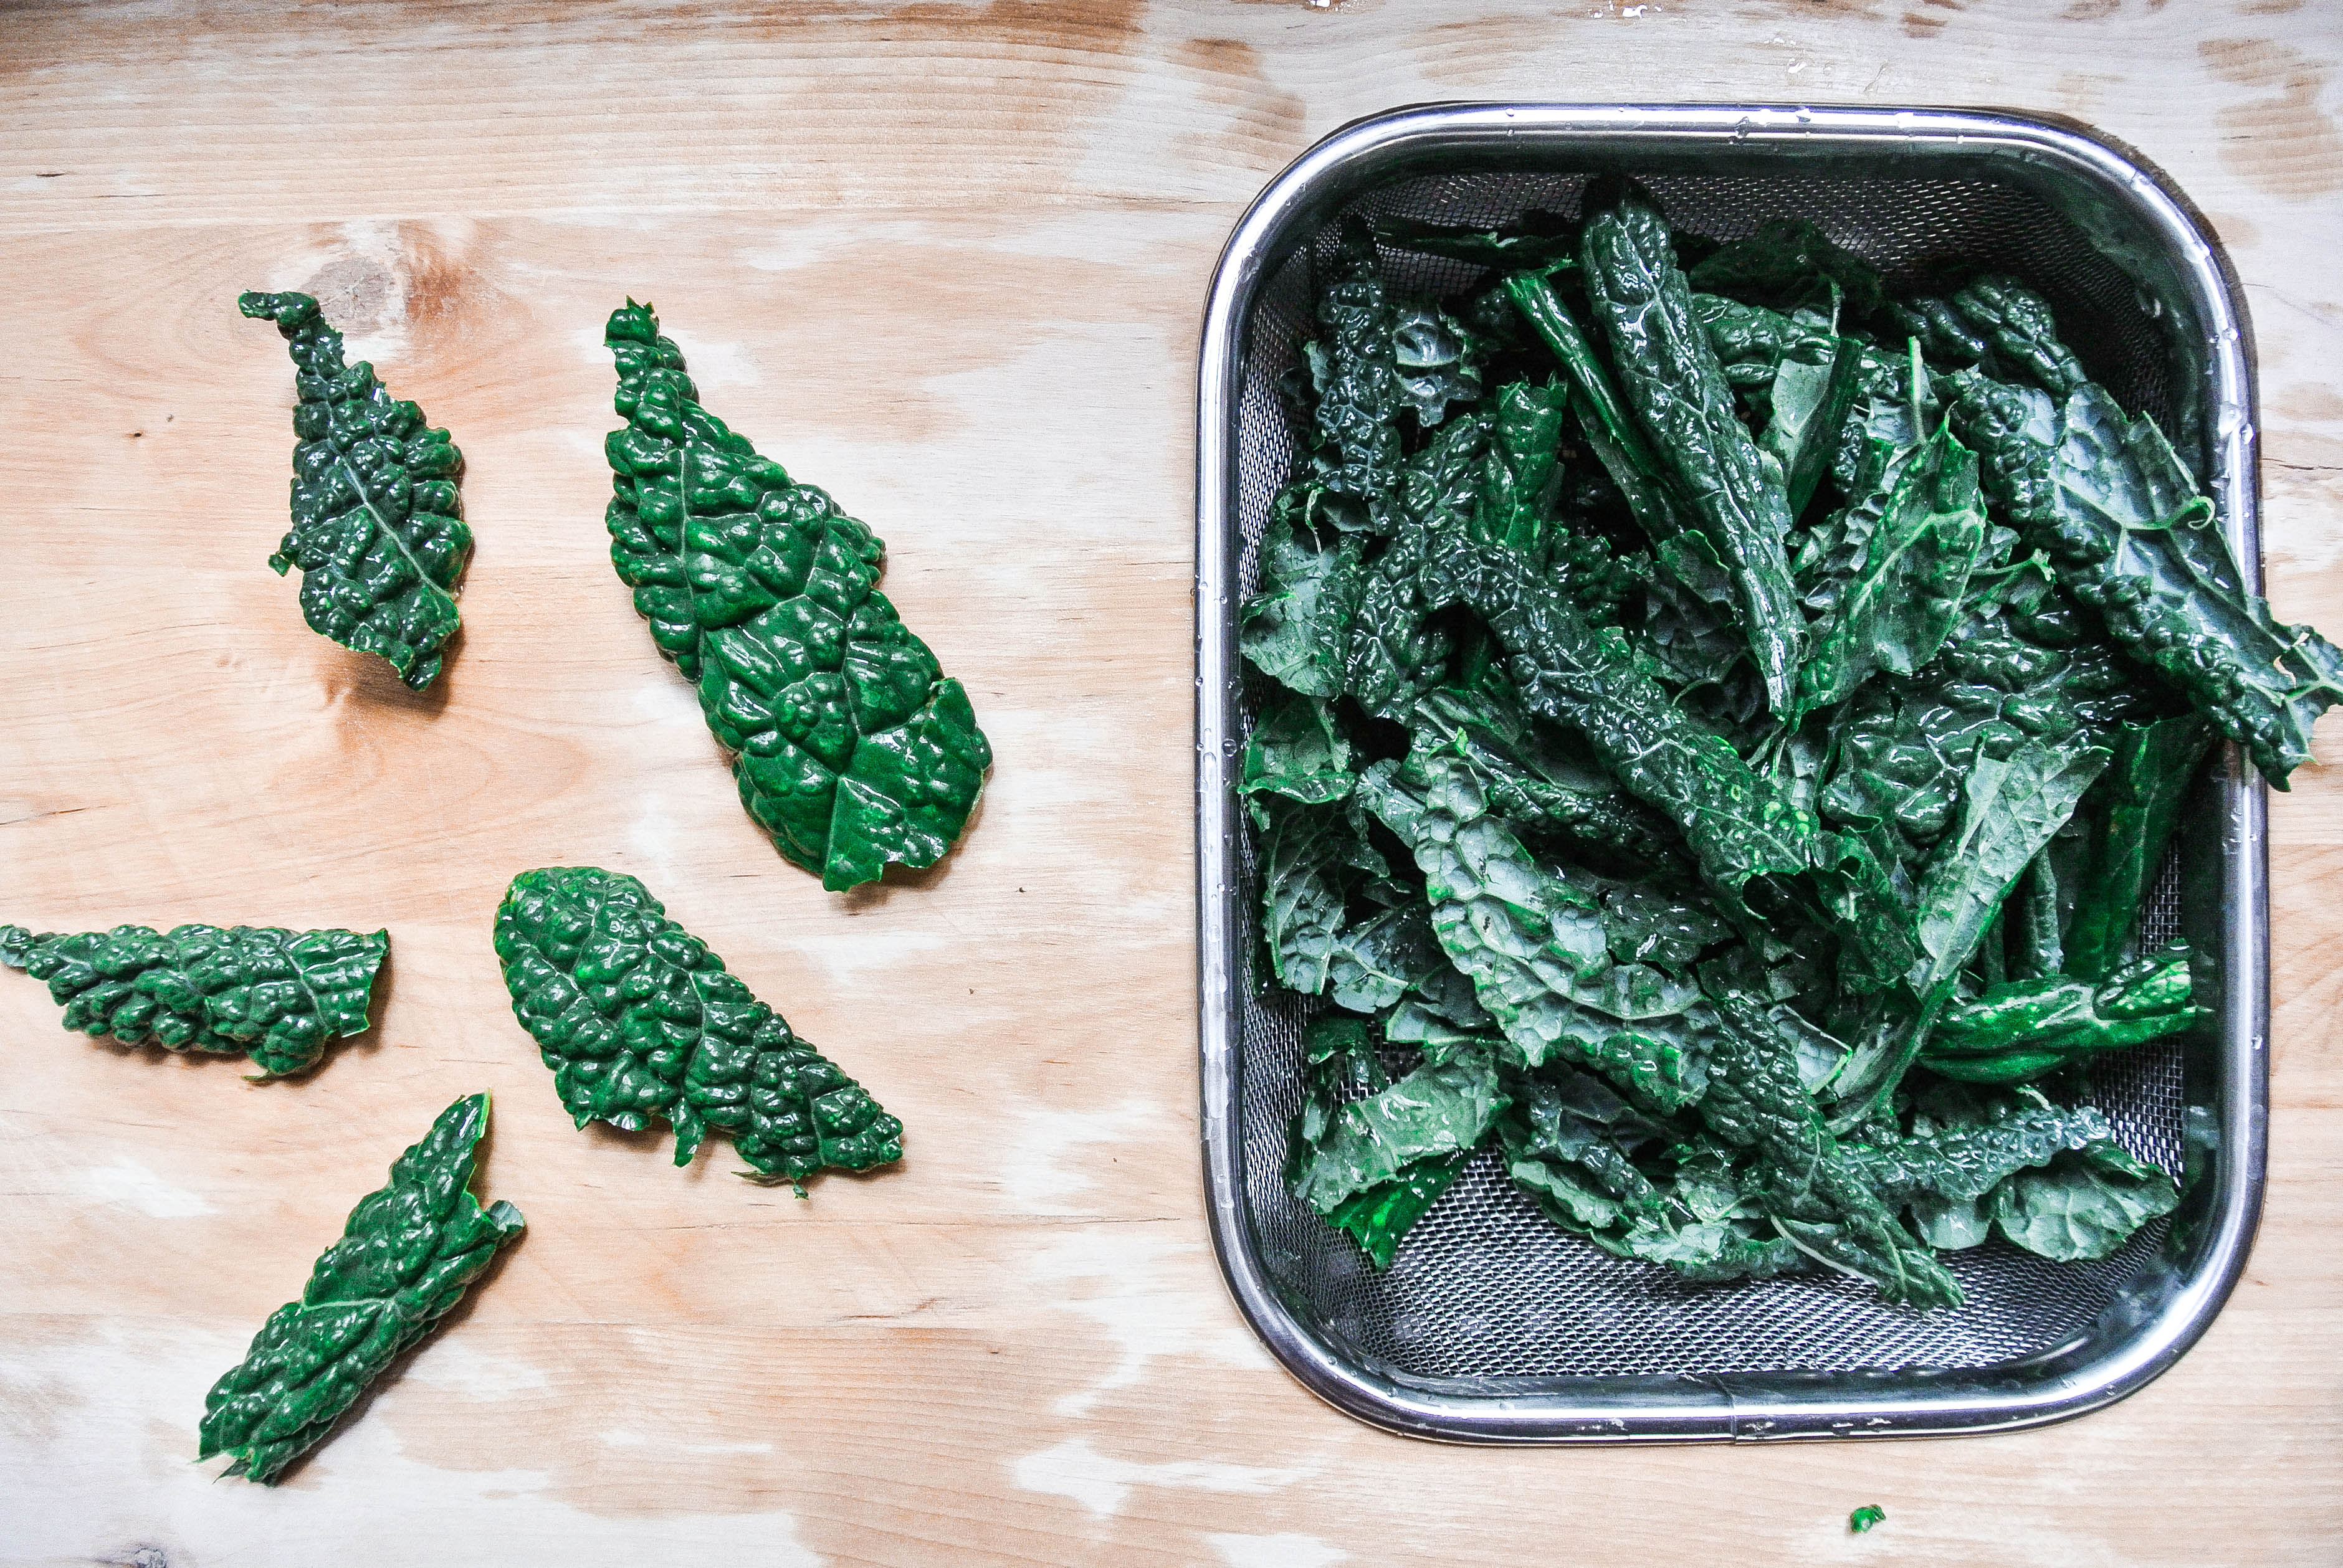 Step 3: Tear the kale into chip-sized pieces. The chips get VERY crisp and flaky, so I prefer to make them bite-sized so there aren’t kale shards all over the floor and couch. I recommend somewhere between the size of a peanut and a saltine {Note: saltine and peanut shown only for scale and size purposes!} It takes a little longer to make them small, but I think they crisp up better that way, and it’s worth it. Keep in mind that the chips will shrink when they bake. The smaller they are, the more they will shrink, because they will curl more. Oh, and don’t use any tough stems, just the leafy parts.

Step 4: DRY the kale. Use as many paper towels if you need to, but the kale needs to be as dry as you can get it before you add the oil in the next step.
Step 5: Place the kale in a bowl and drizzle 1 tsp extra virgin olive oil (per bunch of kale) over the torn leaves. Use your hands to massage it in and cover all of the pieces.
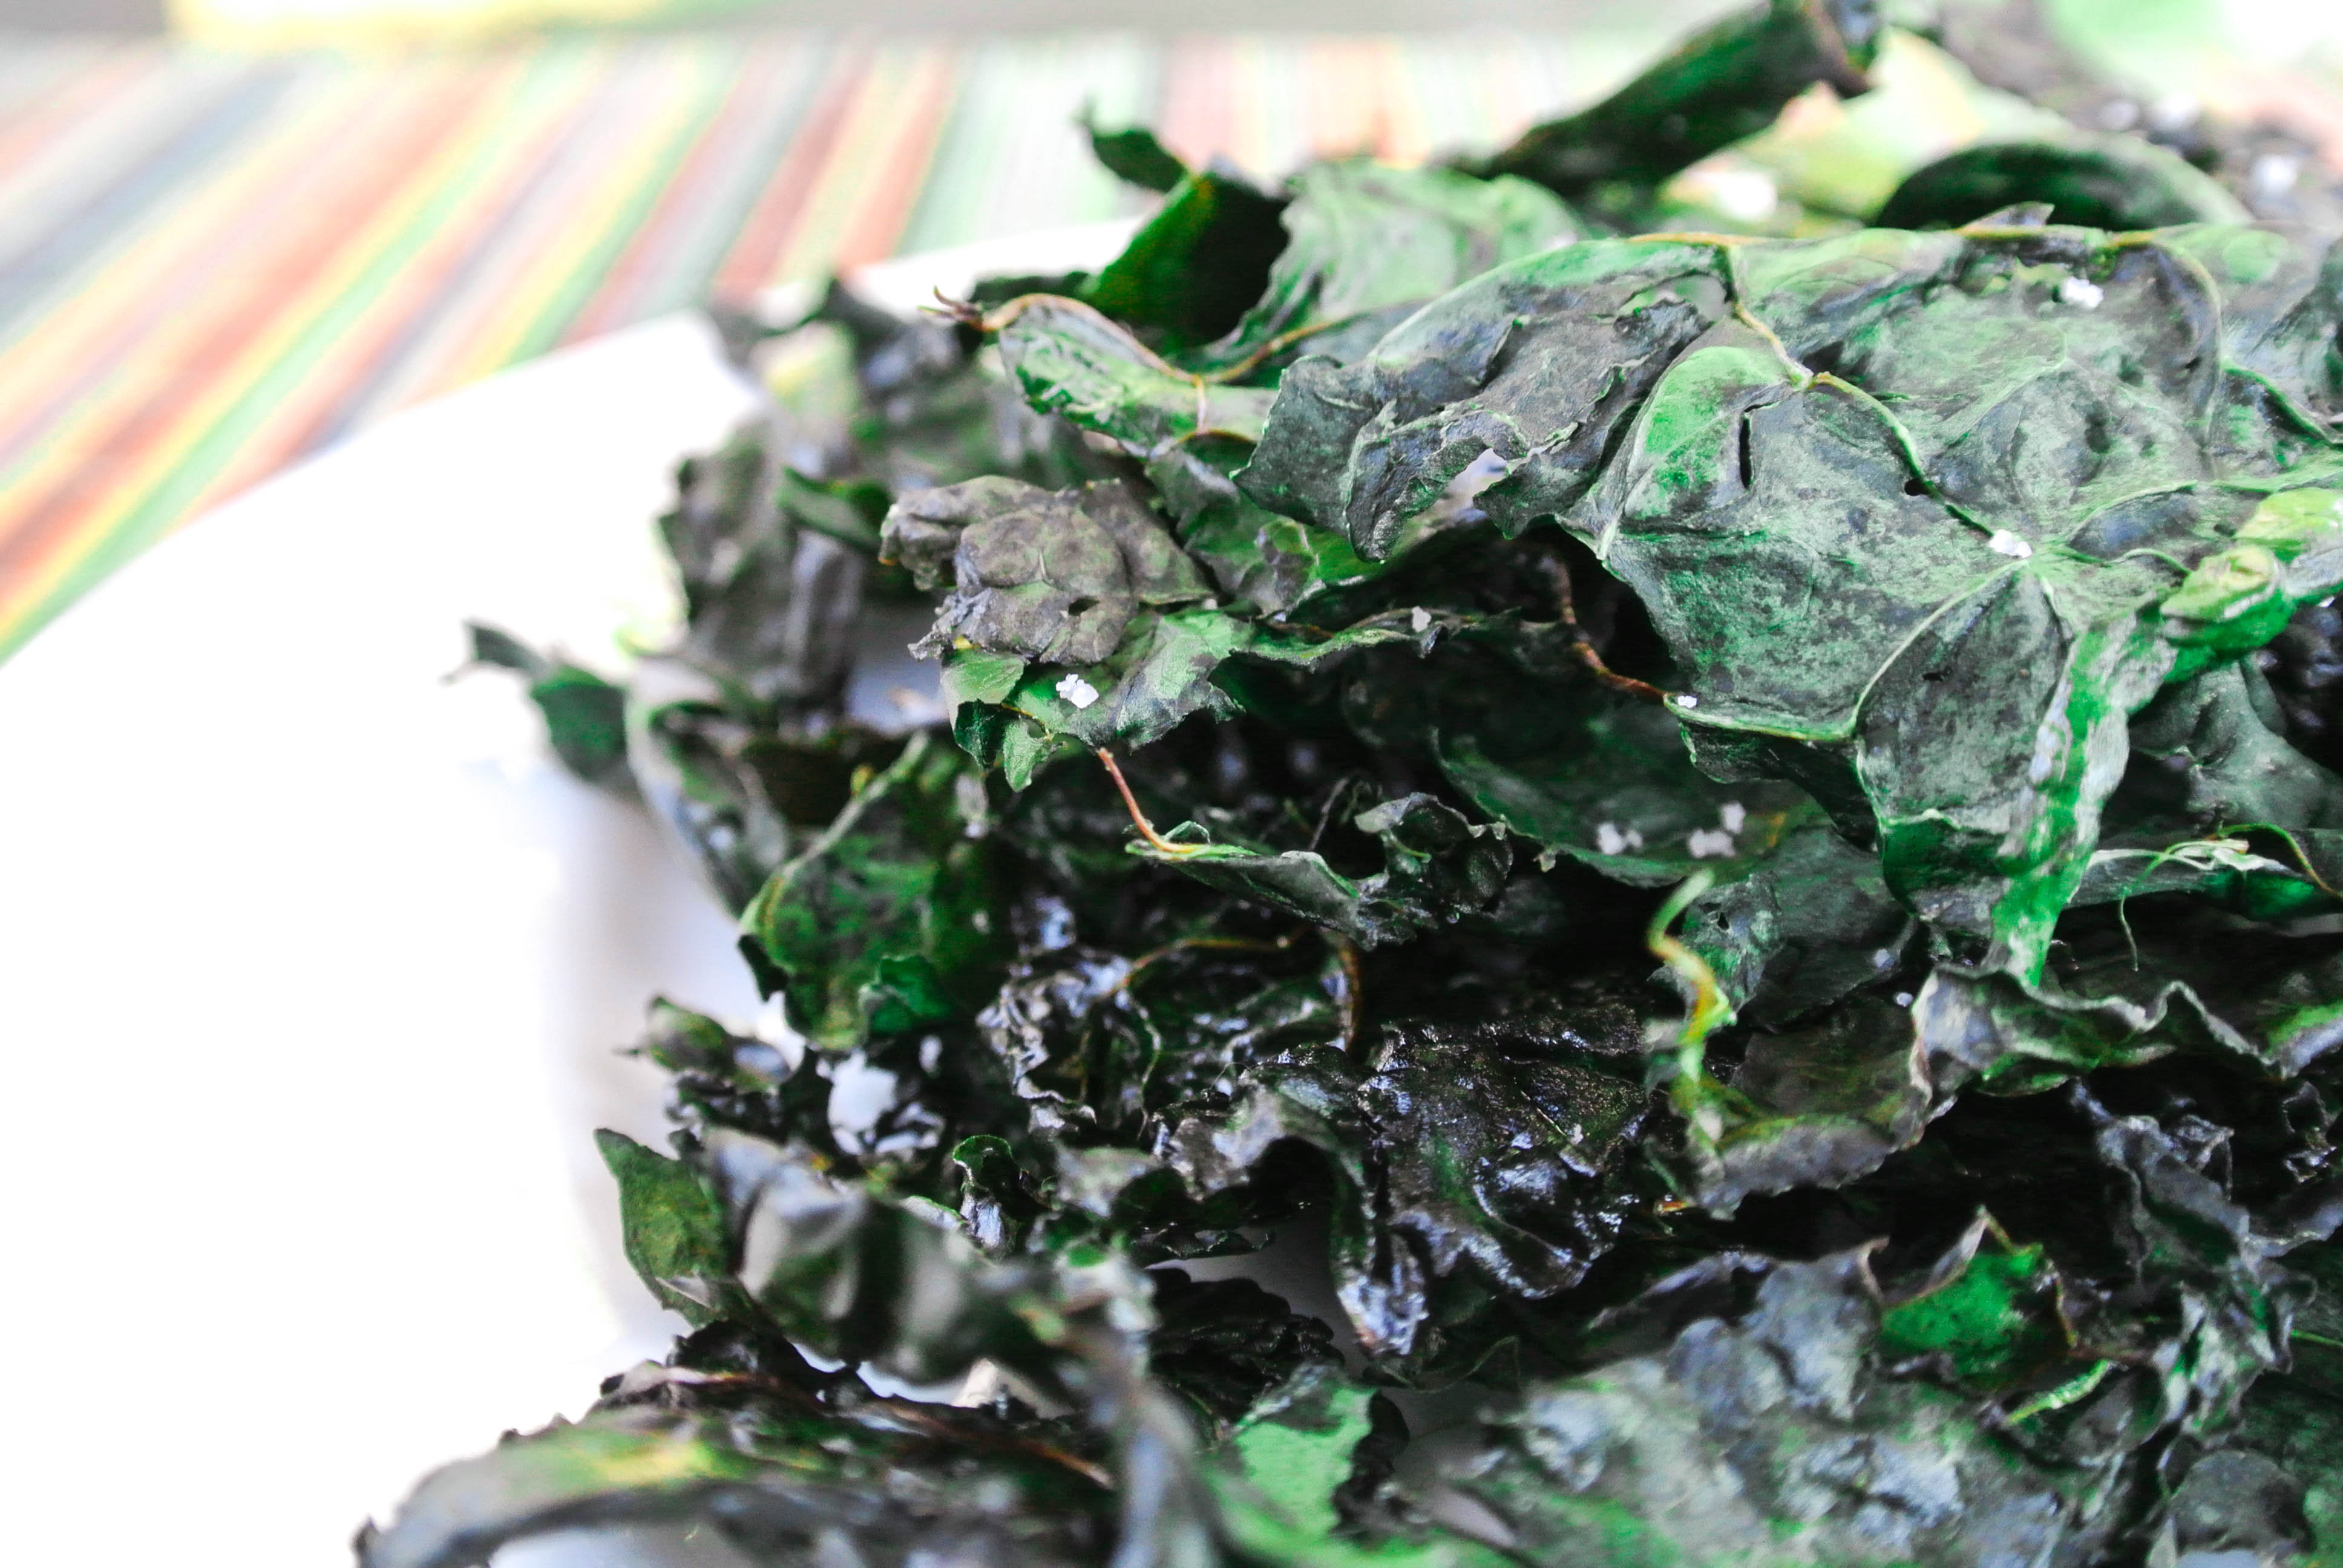
Step 6: Spread the kale on a baking sheet in a single layer, and sprinkle VERY lightly with salt, if using.
 Step 7: Bake for 15 minutes at 350. I have read some recipes that say you have to use very low heat, in the 200’s; others say very high heat, in the 400’s! So I go in between, at 350, and if they are not crispy at 15 minutes, I stay close by the oven and give them a few more minutes to do their thing. I find about 15 minutes works, and I also don’t need to flip them.
When the Kale Chips are done, they should flake to the touch and crumble if pinched. Kale Chips will keep up to a week in an airtight container – that is, if they aren’t eaten before then. You can just keep the container on the kitchen counter, but I accidentally refrigerated a batch once, and they held up fine!


Tell me what you think!