 Thanksgiving snuck up on me this year – does everyone feel that way every year? I had suggested to my parents that we embrace “Thanksgivukkah” and serve a Jewish-themed appetizer course, followed by the traditional Thanksgiving meal. They did not require much convincing. Any excuse to eat latkes, lox, and pastrami is welcomed around these parts.
I was not able to attend October’s Cooking Club (Hostess: SLSC; Theme: Thanksgiving Inspiration; Date: 10.27.13), but the menu included Pumpkin Challah expertly baked by EDL, which received rave reviews from the attendees, so I decided to include it in my family’s celebration.
However, I have a very traditional family, and as I braided the pumpkin challah, I could tell my dad would have preferred a regular old challah. The pumpkin-flavored bread ended up being delicious and appreciated, but my dad was right. If you were expecting challah, it wasn’t “challah.”
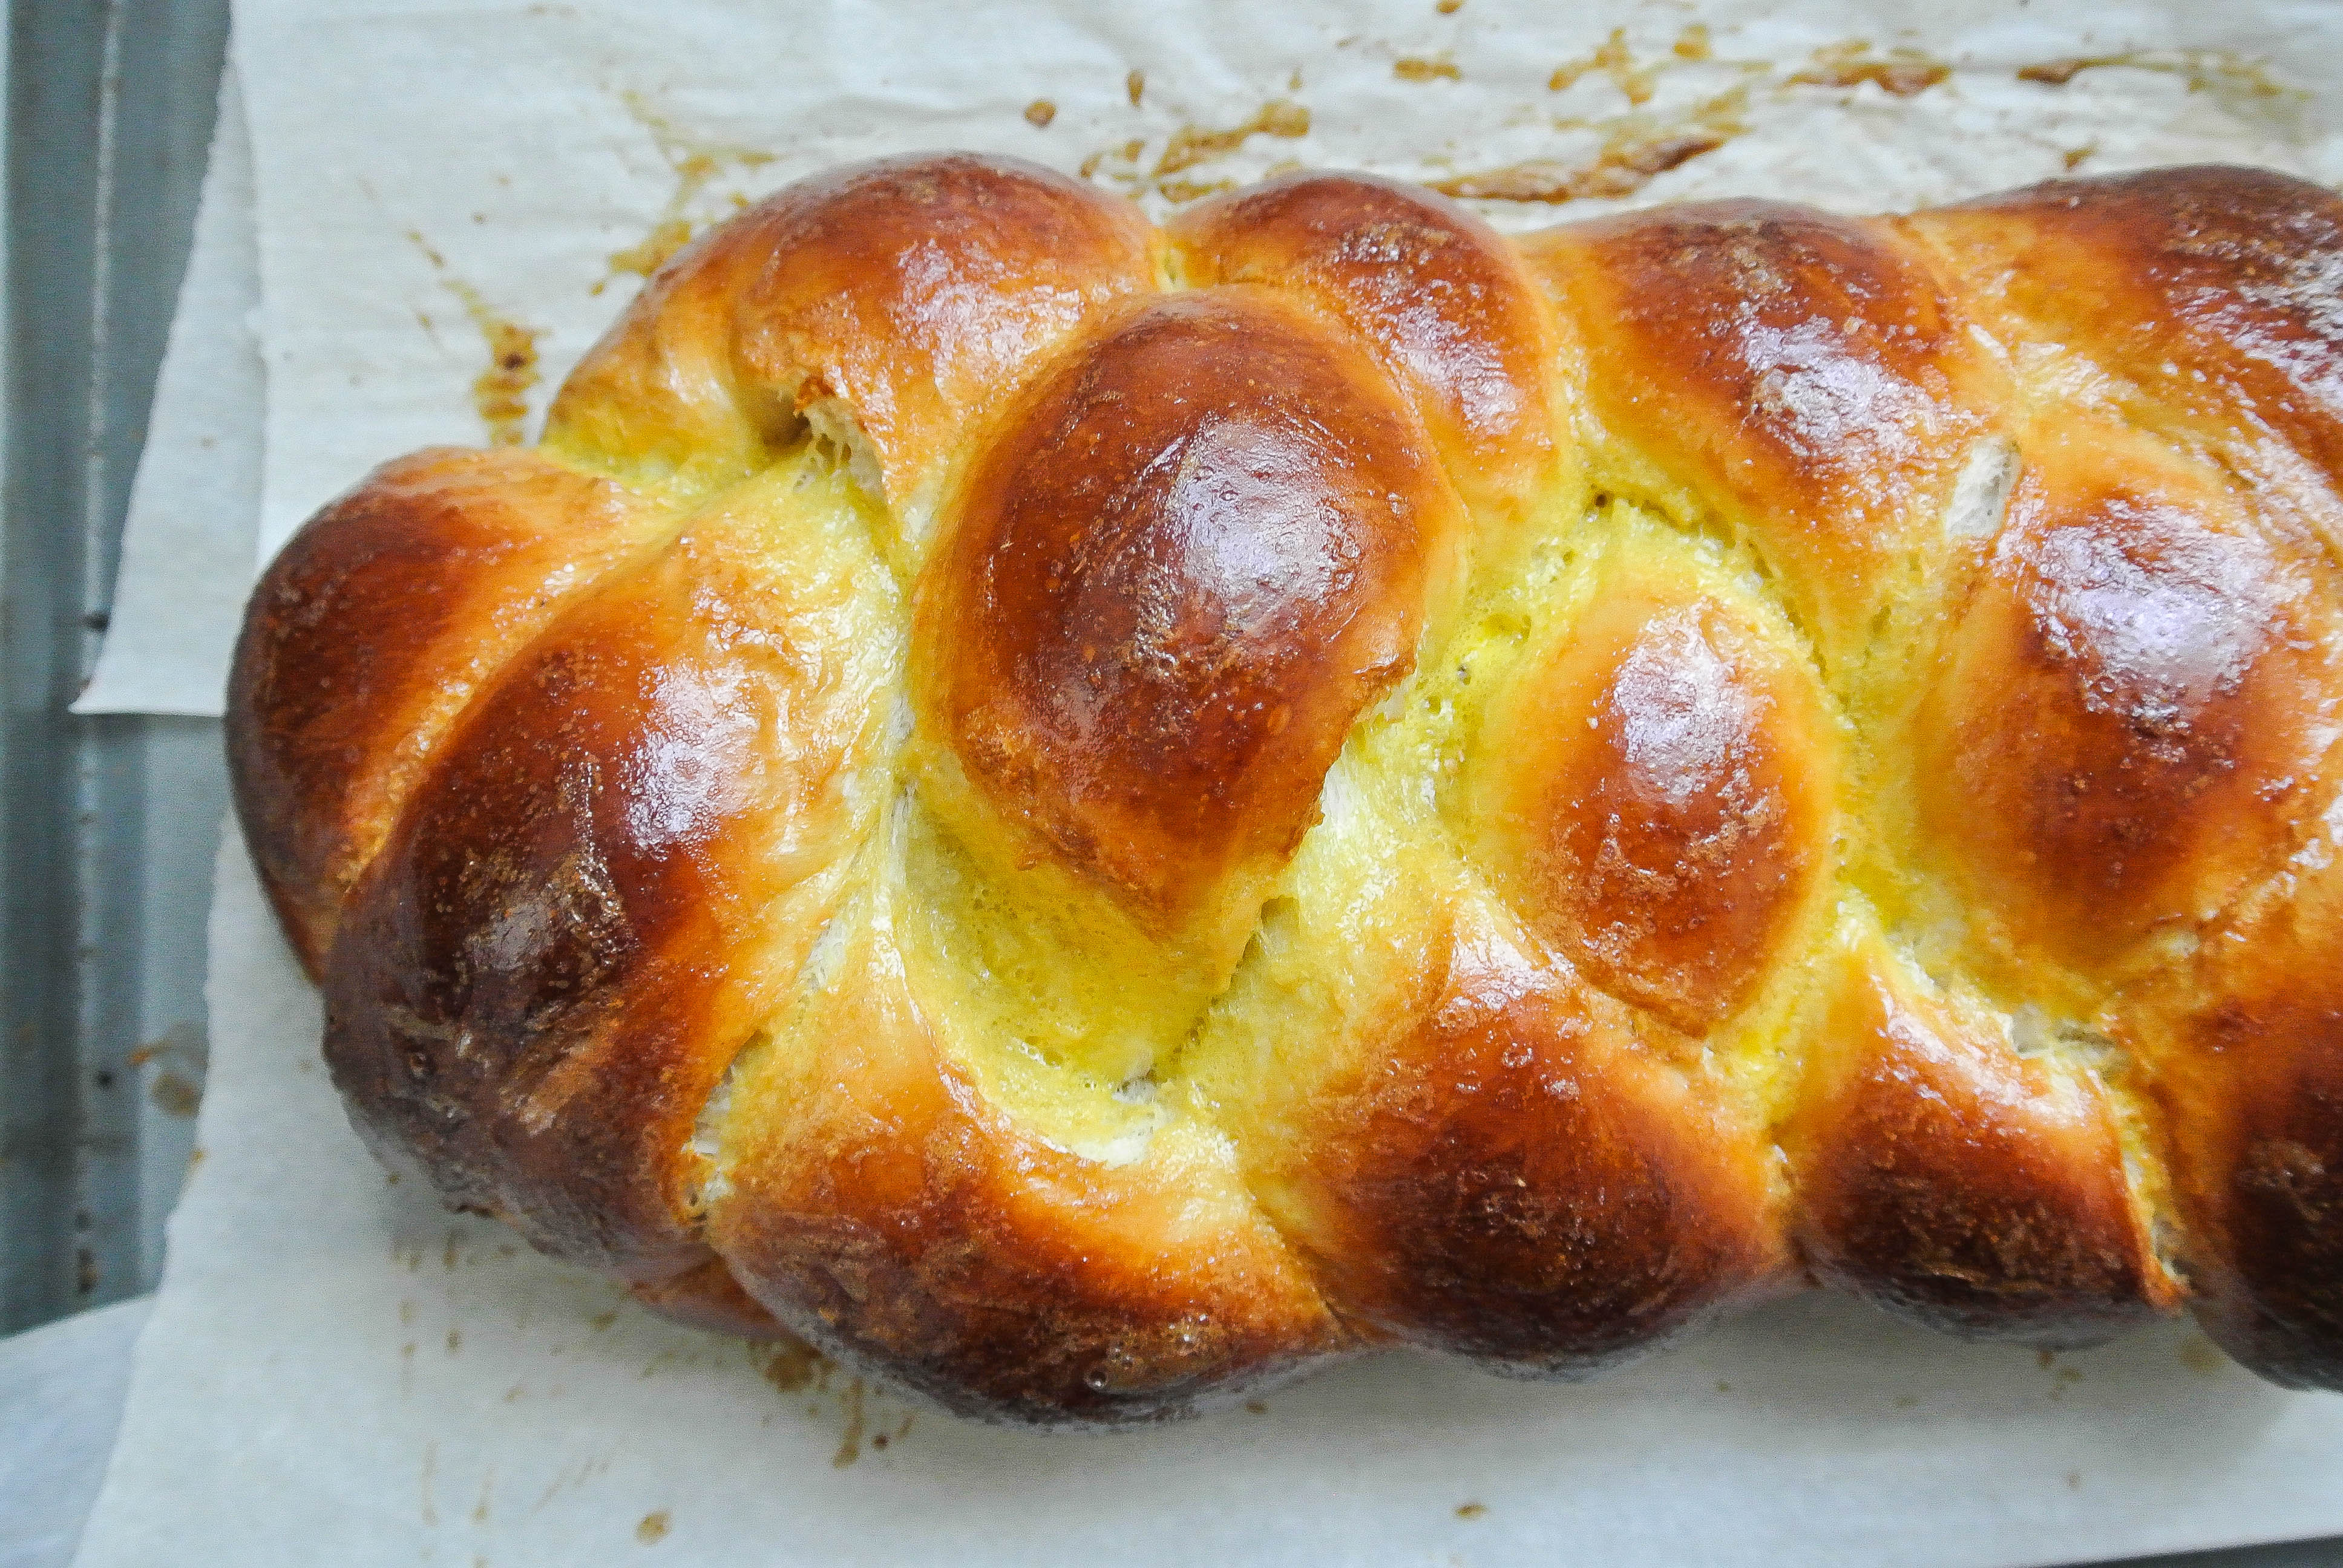
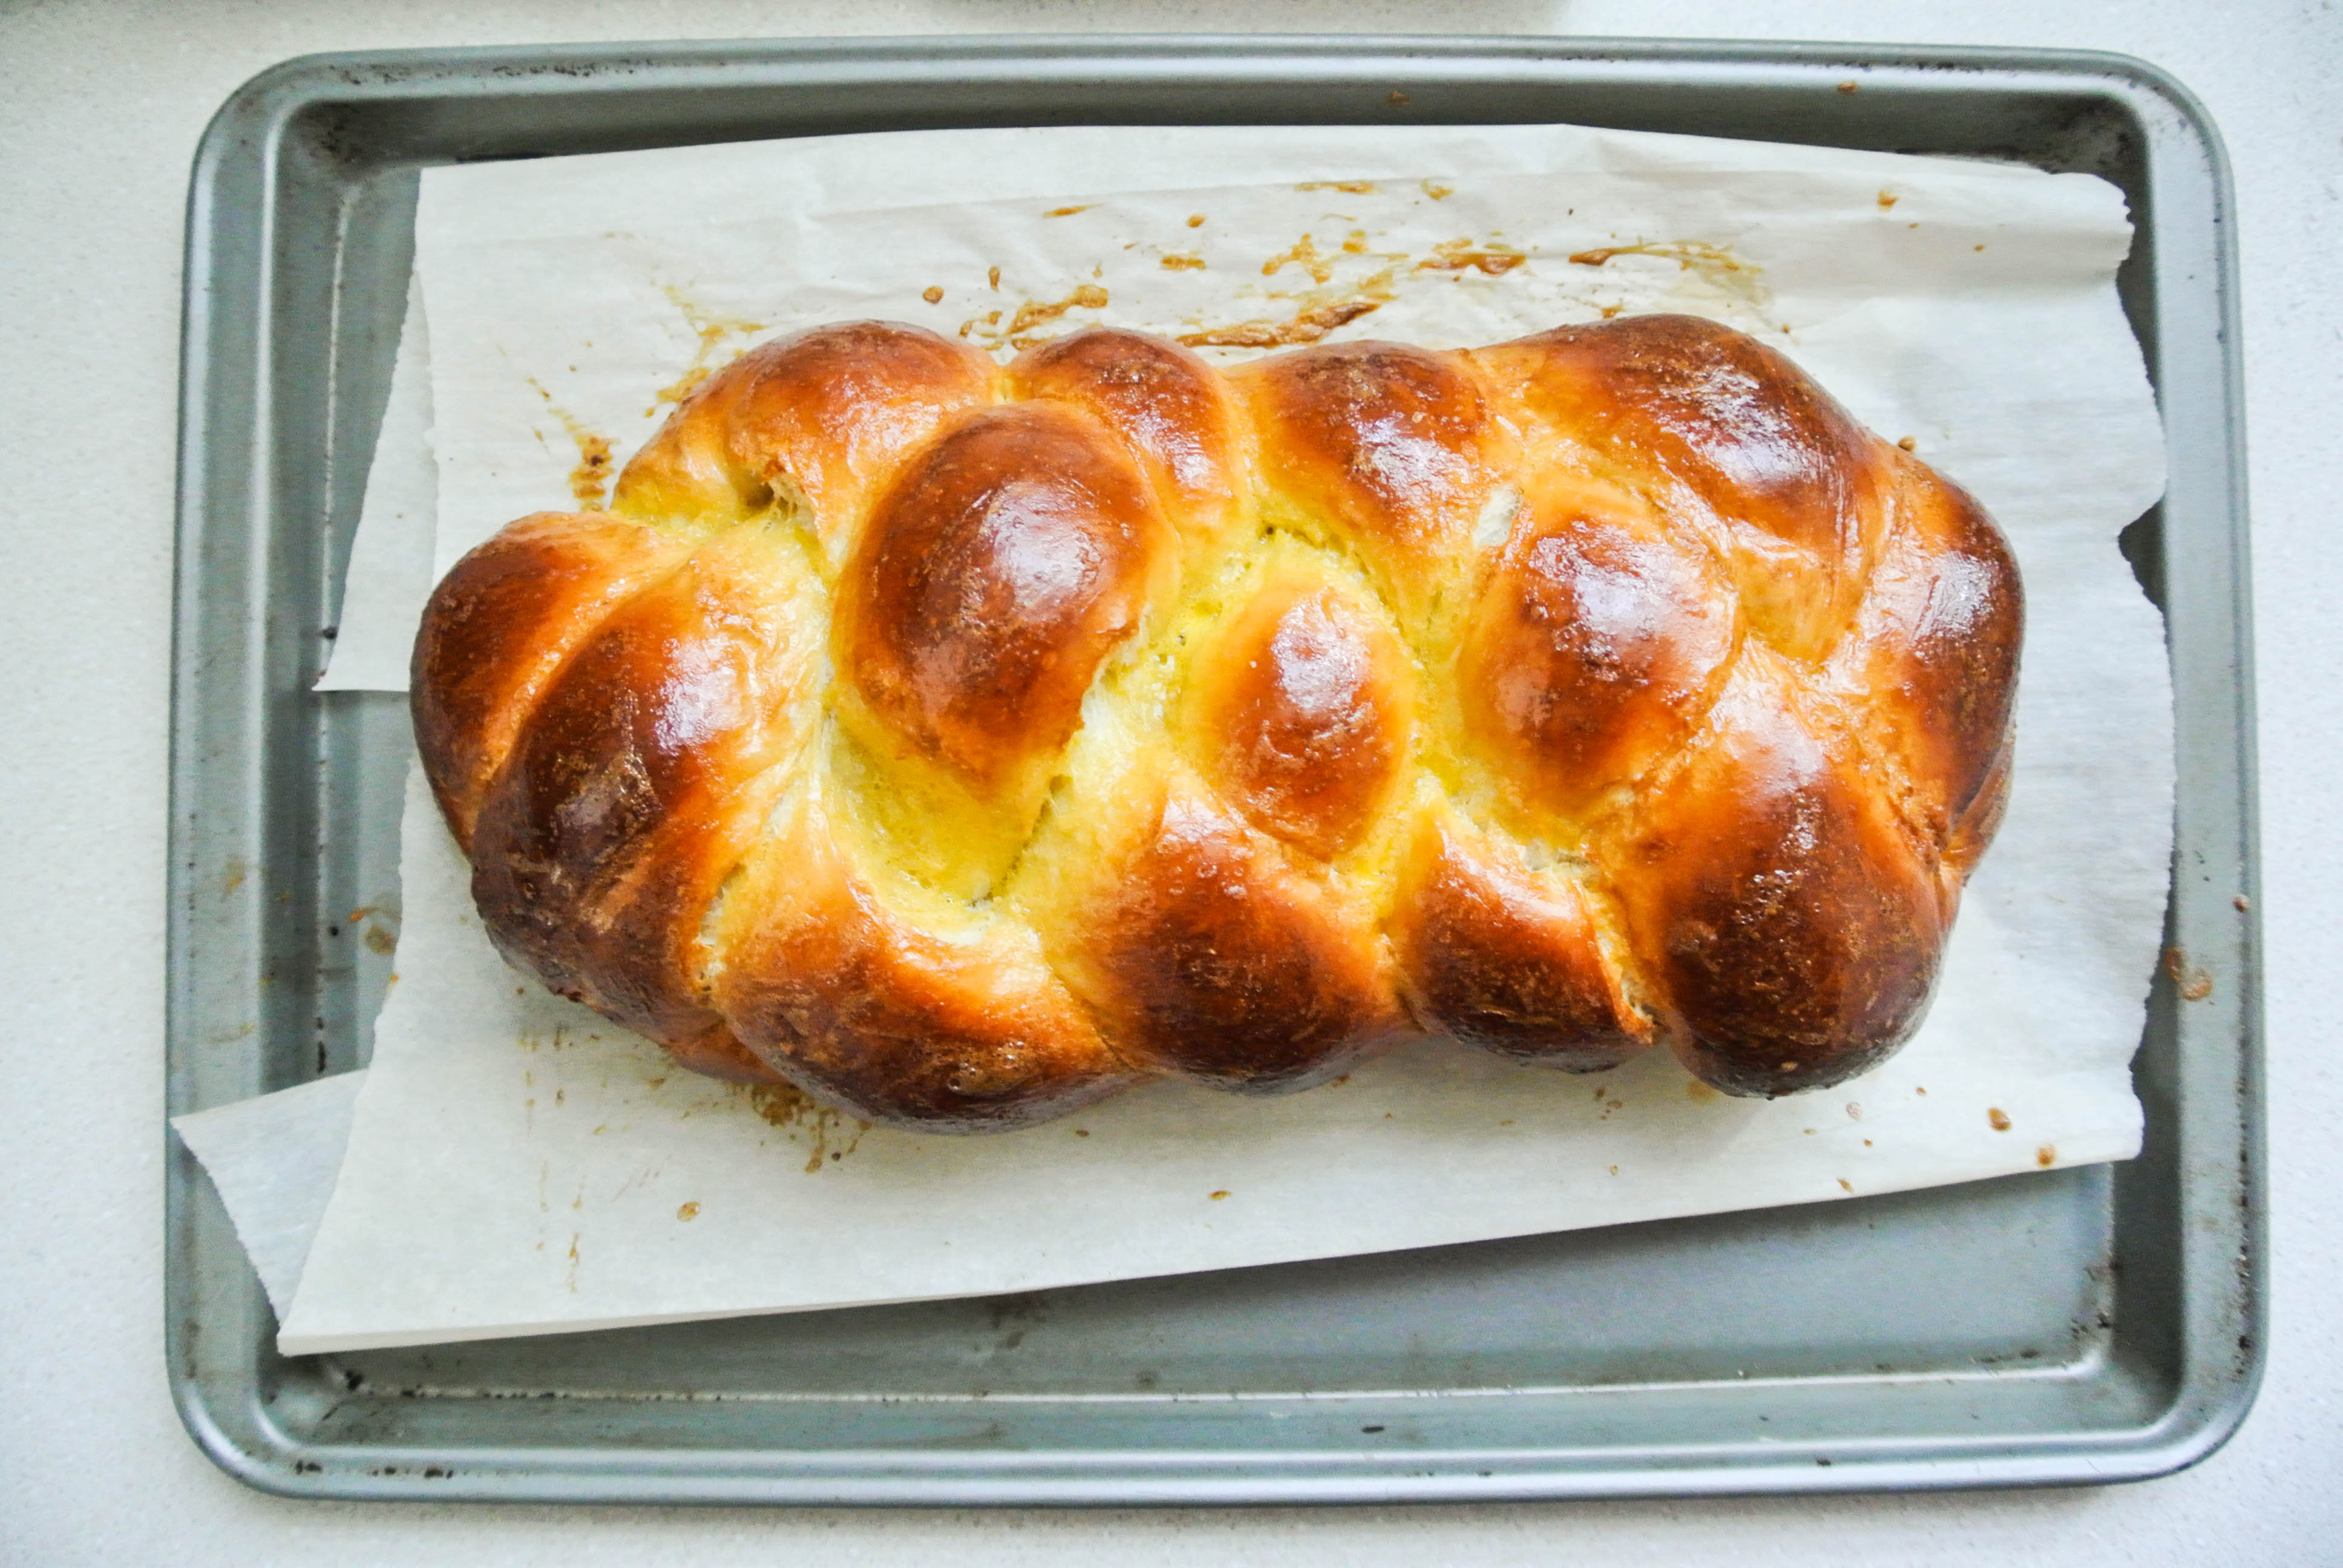
I have made challah before, but looking through my recipe files, it may have been over 8 years ago – and I have never made a braid with more than 3 strands. The pumpkin challah turned out perfect, so I went back to the same source for her traditional challah recipe. Another winner! I particularly appreciated the tutorial on how to braid challah, and I decided on the four-strand braid. I wanted to use half the batch of dough to make dinner rolls, and didn’t think I would have enough dough to attempt anything more complex that would still have a wow-factor. I literally got “oohs” and “ahhs.” It is hard to deny that braided challah is indeed gorgeous.
Ingredients:
– 1 packet active dry yeast
– 1/4 c water (100-110 degrees)
– 1 t sugar
– 1 egg (whole)
– 3 egg yolks {save the whites for breakfast tomorrow!}
– 1/3 cup honey
– 2 T canola oil
– 1 t salt
– 1 1/4 c water (100-110 degrees)
– 6 c flour {you probably won’t use it all, but should have it available}
– 1 egg yolk
– 2 t water
How do I make it?
- Pour the yeast into a large mixing bowl. Add the 1/4 c water and 1 t sugar. Stir to combine and dissolve, and let it sit until it gets foamy (about 5 minutes).
- While the yeast is doing its thing, in a medium bowl, whisk together the whole egg, 3 egg yolks, honey, canola oil and salt.
- When the yeast in the large bowl is foamy and fragrant, add the remaining 1 1/4 c water and pour in the egg mixture you just whisked. Whisk it all together.
- Add flour to the mixture, one half cup at a time. When mixture becomes too thick to stir, use your hands to knead. Continue to add flour until the dough is smooth and pliable. {You can use a stand mixer with the dough hook, but it doesn’t take that long or use too much energy to do it with your hands. When you use your hands, you are very aware of whether it is too sticky. When the dough is ready, it should be slightly tacky on your fingers, but not stick in clumps.}
- Place the kneaded dough in a large bowl that you have sprayed with cooking oil (if you want to use the same bowl, be sure to wash it out first). Spray the top of the dough with oil too.
- Cover the dough with a clean kitchen towel, and place in your oven (that is OFF) to rise. In a large microwave-safe container (like a 12-cup Pyrex), microwave water until it boils, and place that into the oven with the dough.
- Let the dough rise for 1 hour.
- Take the dough bowl out and punch it down to remove air bubbles. Re-microwave the water and place it back in the oven.
- Cover the dough bowl again with the towel and place it back inside the oven and let it rise for another hour. At this point, it should have approximately doubled.
- Take the dough out of the oven and punch it down a few times. Flour a smooth surface like a cutting board (or a clean granite countertop). Punch the dough down into the bowl a few times, and turn the dough out onto the floured surface. Knead for 3 to 5 minutes, adding more flour as needed to keep the dough from feeling too sticky on your fingers.
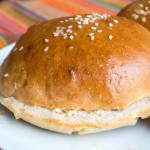
- I used half of the recipe to make small dinner rolls*, and the other half for a braided loaf.
- Separate the dough you will braid into 4 equal portions. I found it easiest to use a bench scraper to cut the dough into long pieces, rather than balls. You will be rolling the dough into rectangles (rather than a circle), so this served as a little shortcut for me.
- With a floured rolling pin (or a floured wine bottle – whatever you have – but make sure it is well-floured and stays that way), roll one portion of dough into a rectangle. Now take that rectangle and, using your hands, roll it into a long strand (like a play-doh snake). Roll the strand around and try to work out the seam, and squeeze out any air bubbles. If you can, try to taper the ends a bit by squeezing them and then rolling to smooth them out.
- Repeat this process with the other three portions.
- Lay the strands out parallel to each other, with the tapered ends farthest from you.
- Loosely pinch the strands together at the top. You are now ready to braid.
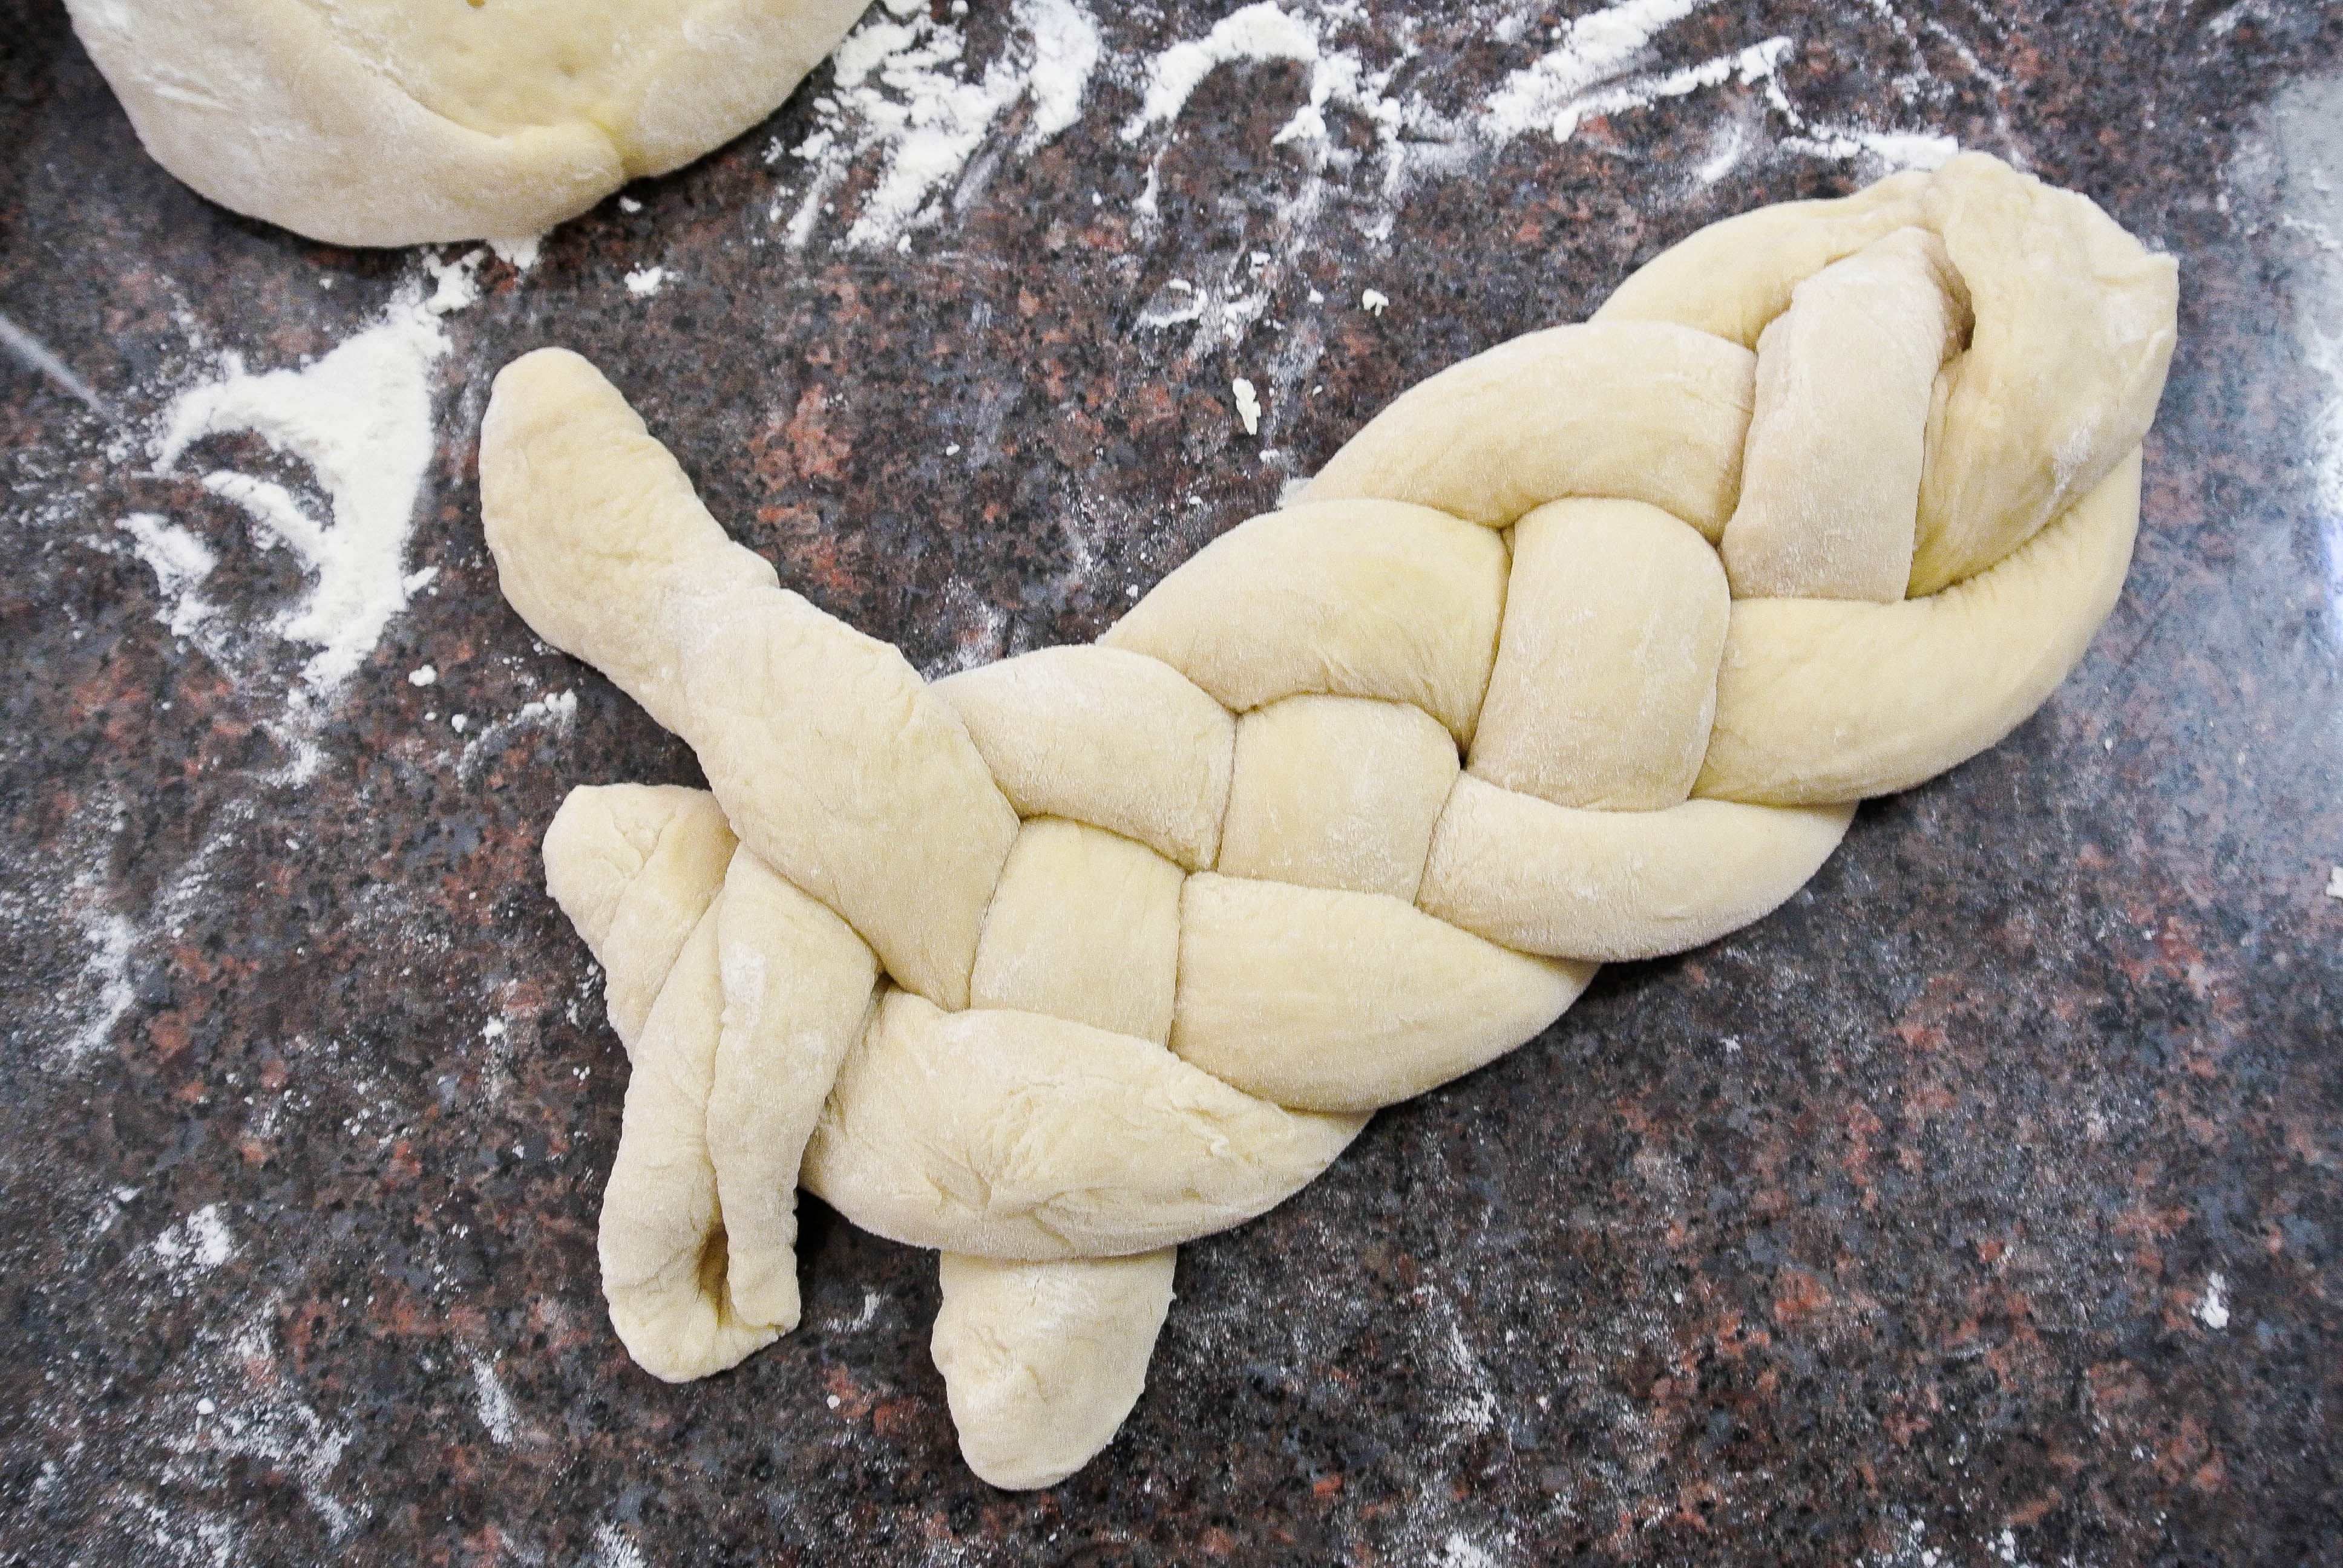
- Starting all the way at the right, weave the strand OVER-UNDER-OVER. That is, OVER the first strand to the left of it, then UNDER the next strand, then OVER the final strand. Leave that strand all the way at the left, and repeat with the next strand. Continue this process until you are at the end of the strands.
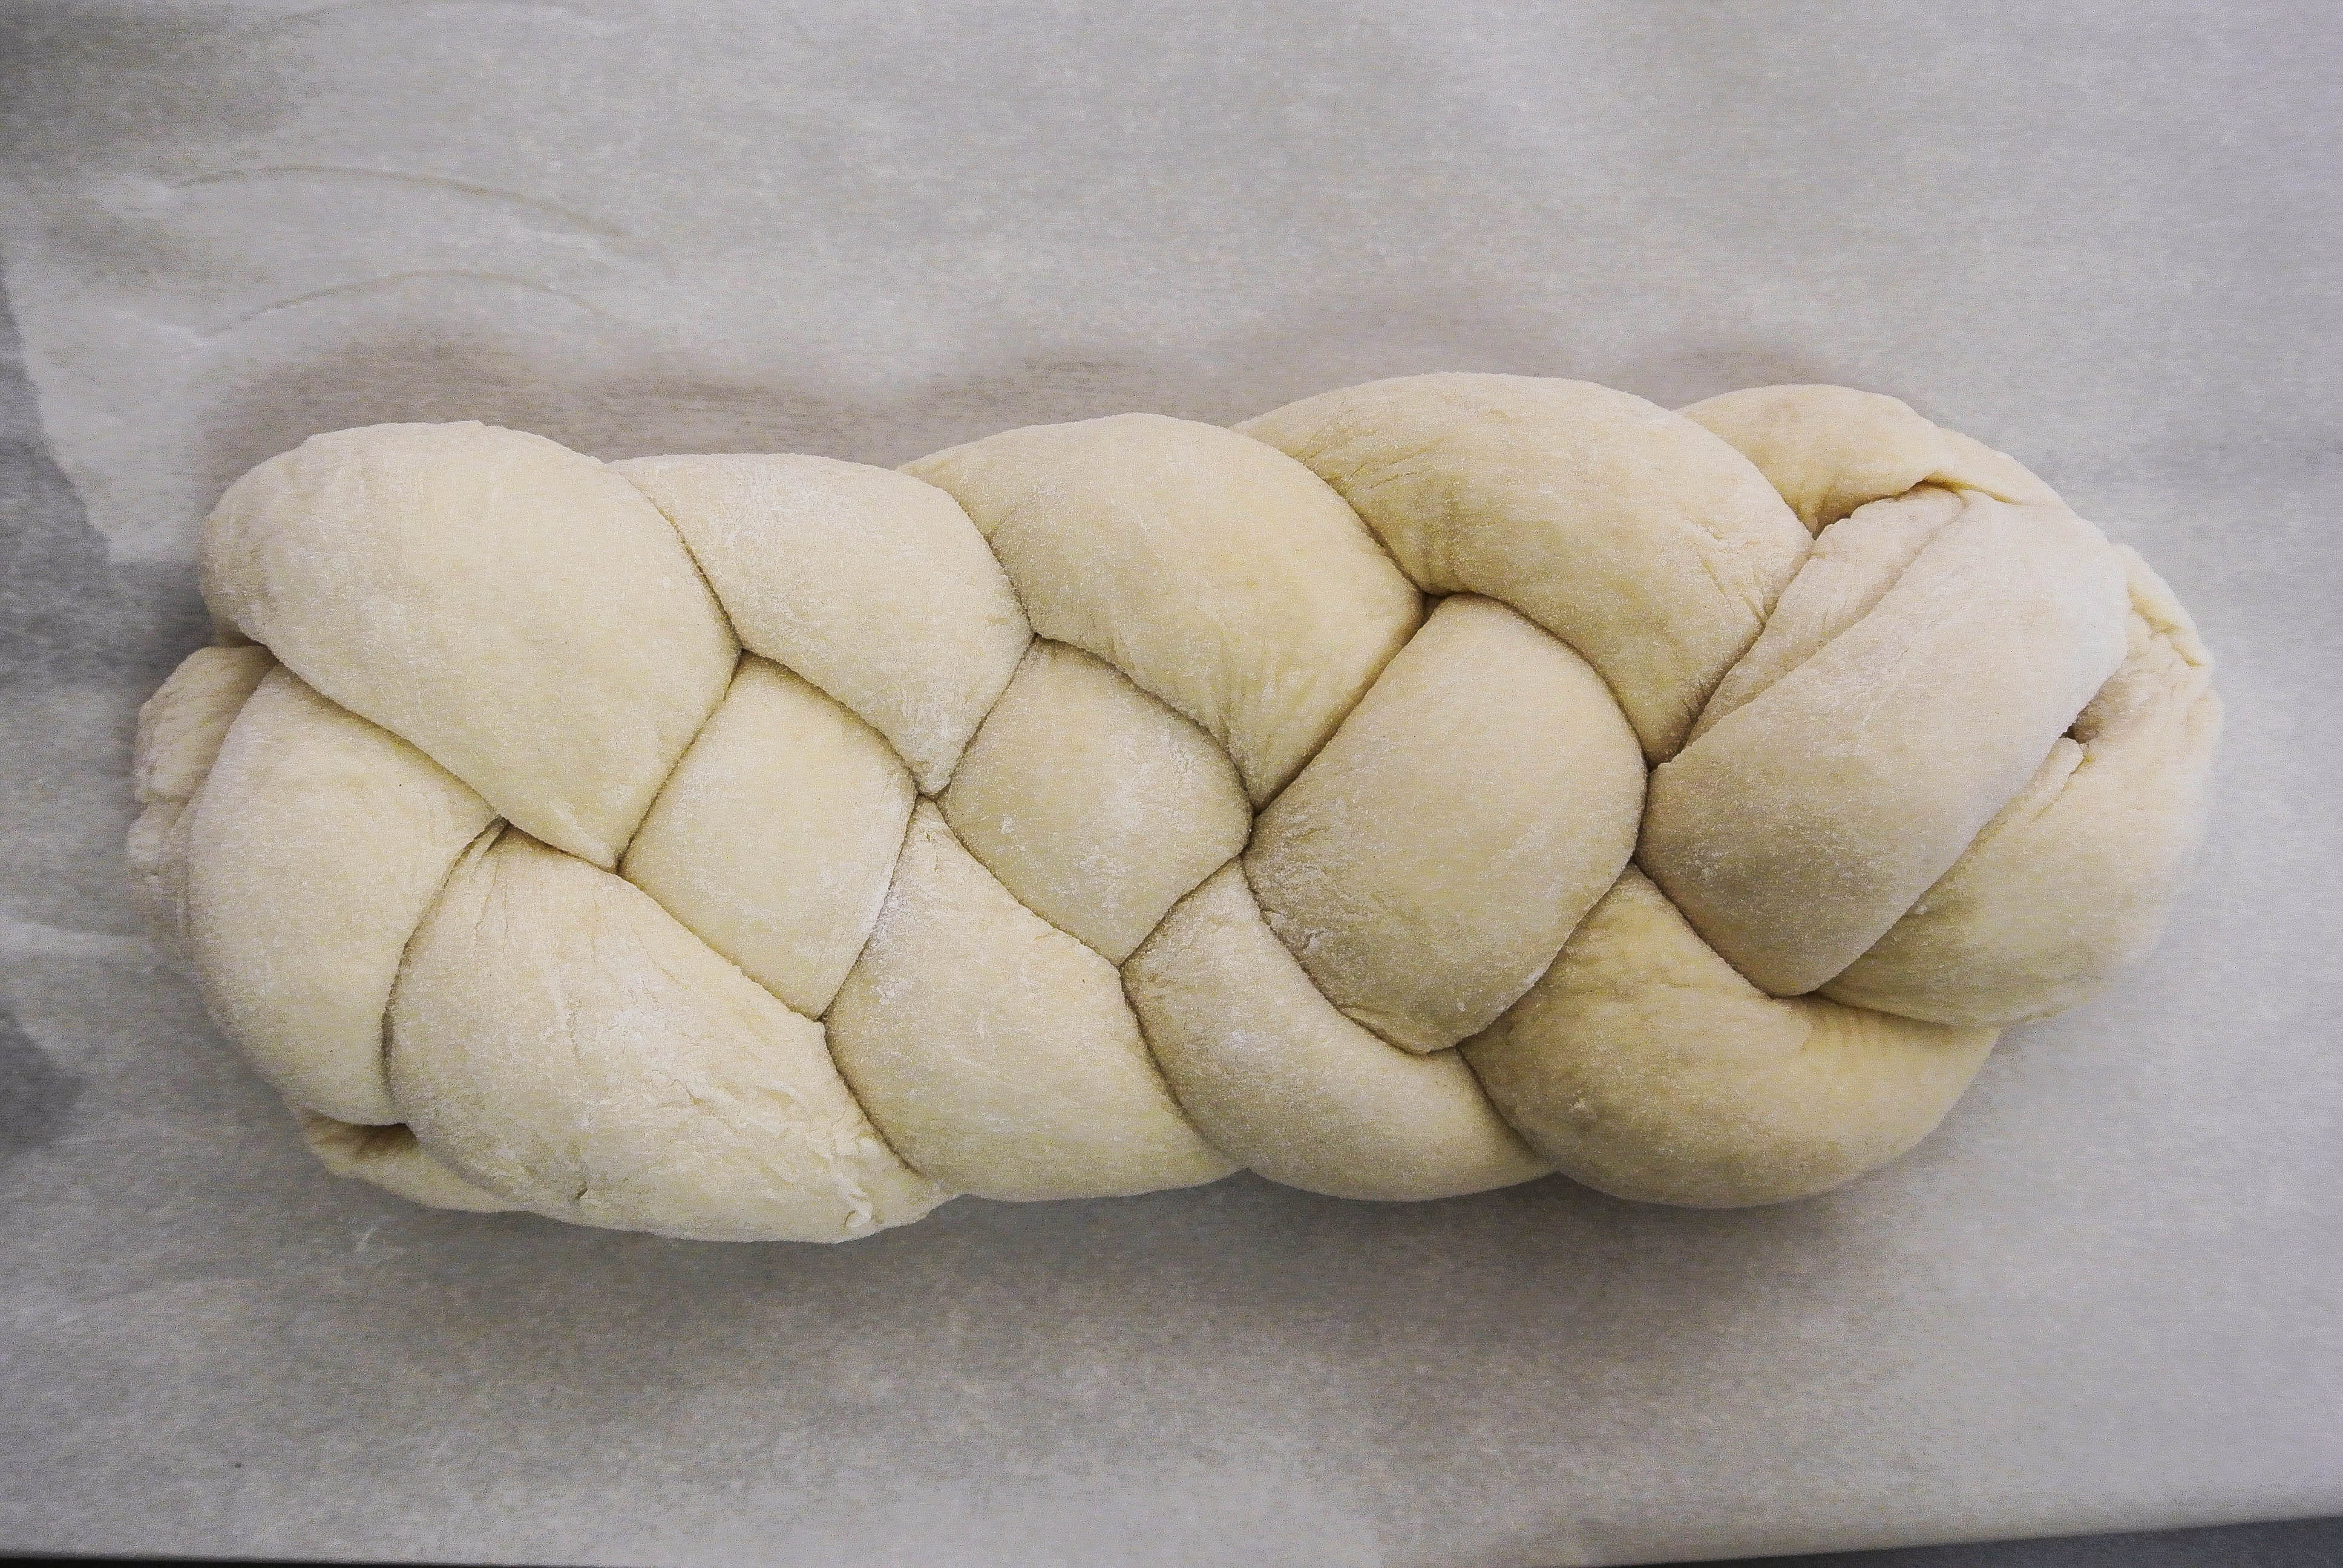
- Pinch together and tuck under both ends.
- Step back and admire.
- Place the braid on a rimmed baking sheet covered in parchment paper.
- Whisk the egg yolk and water together in a small bowl until smooth and uniform.
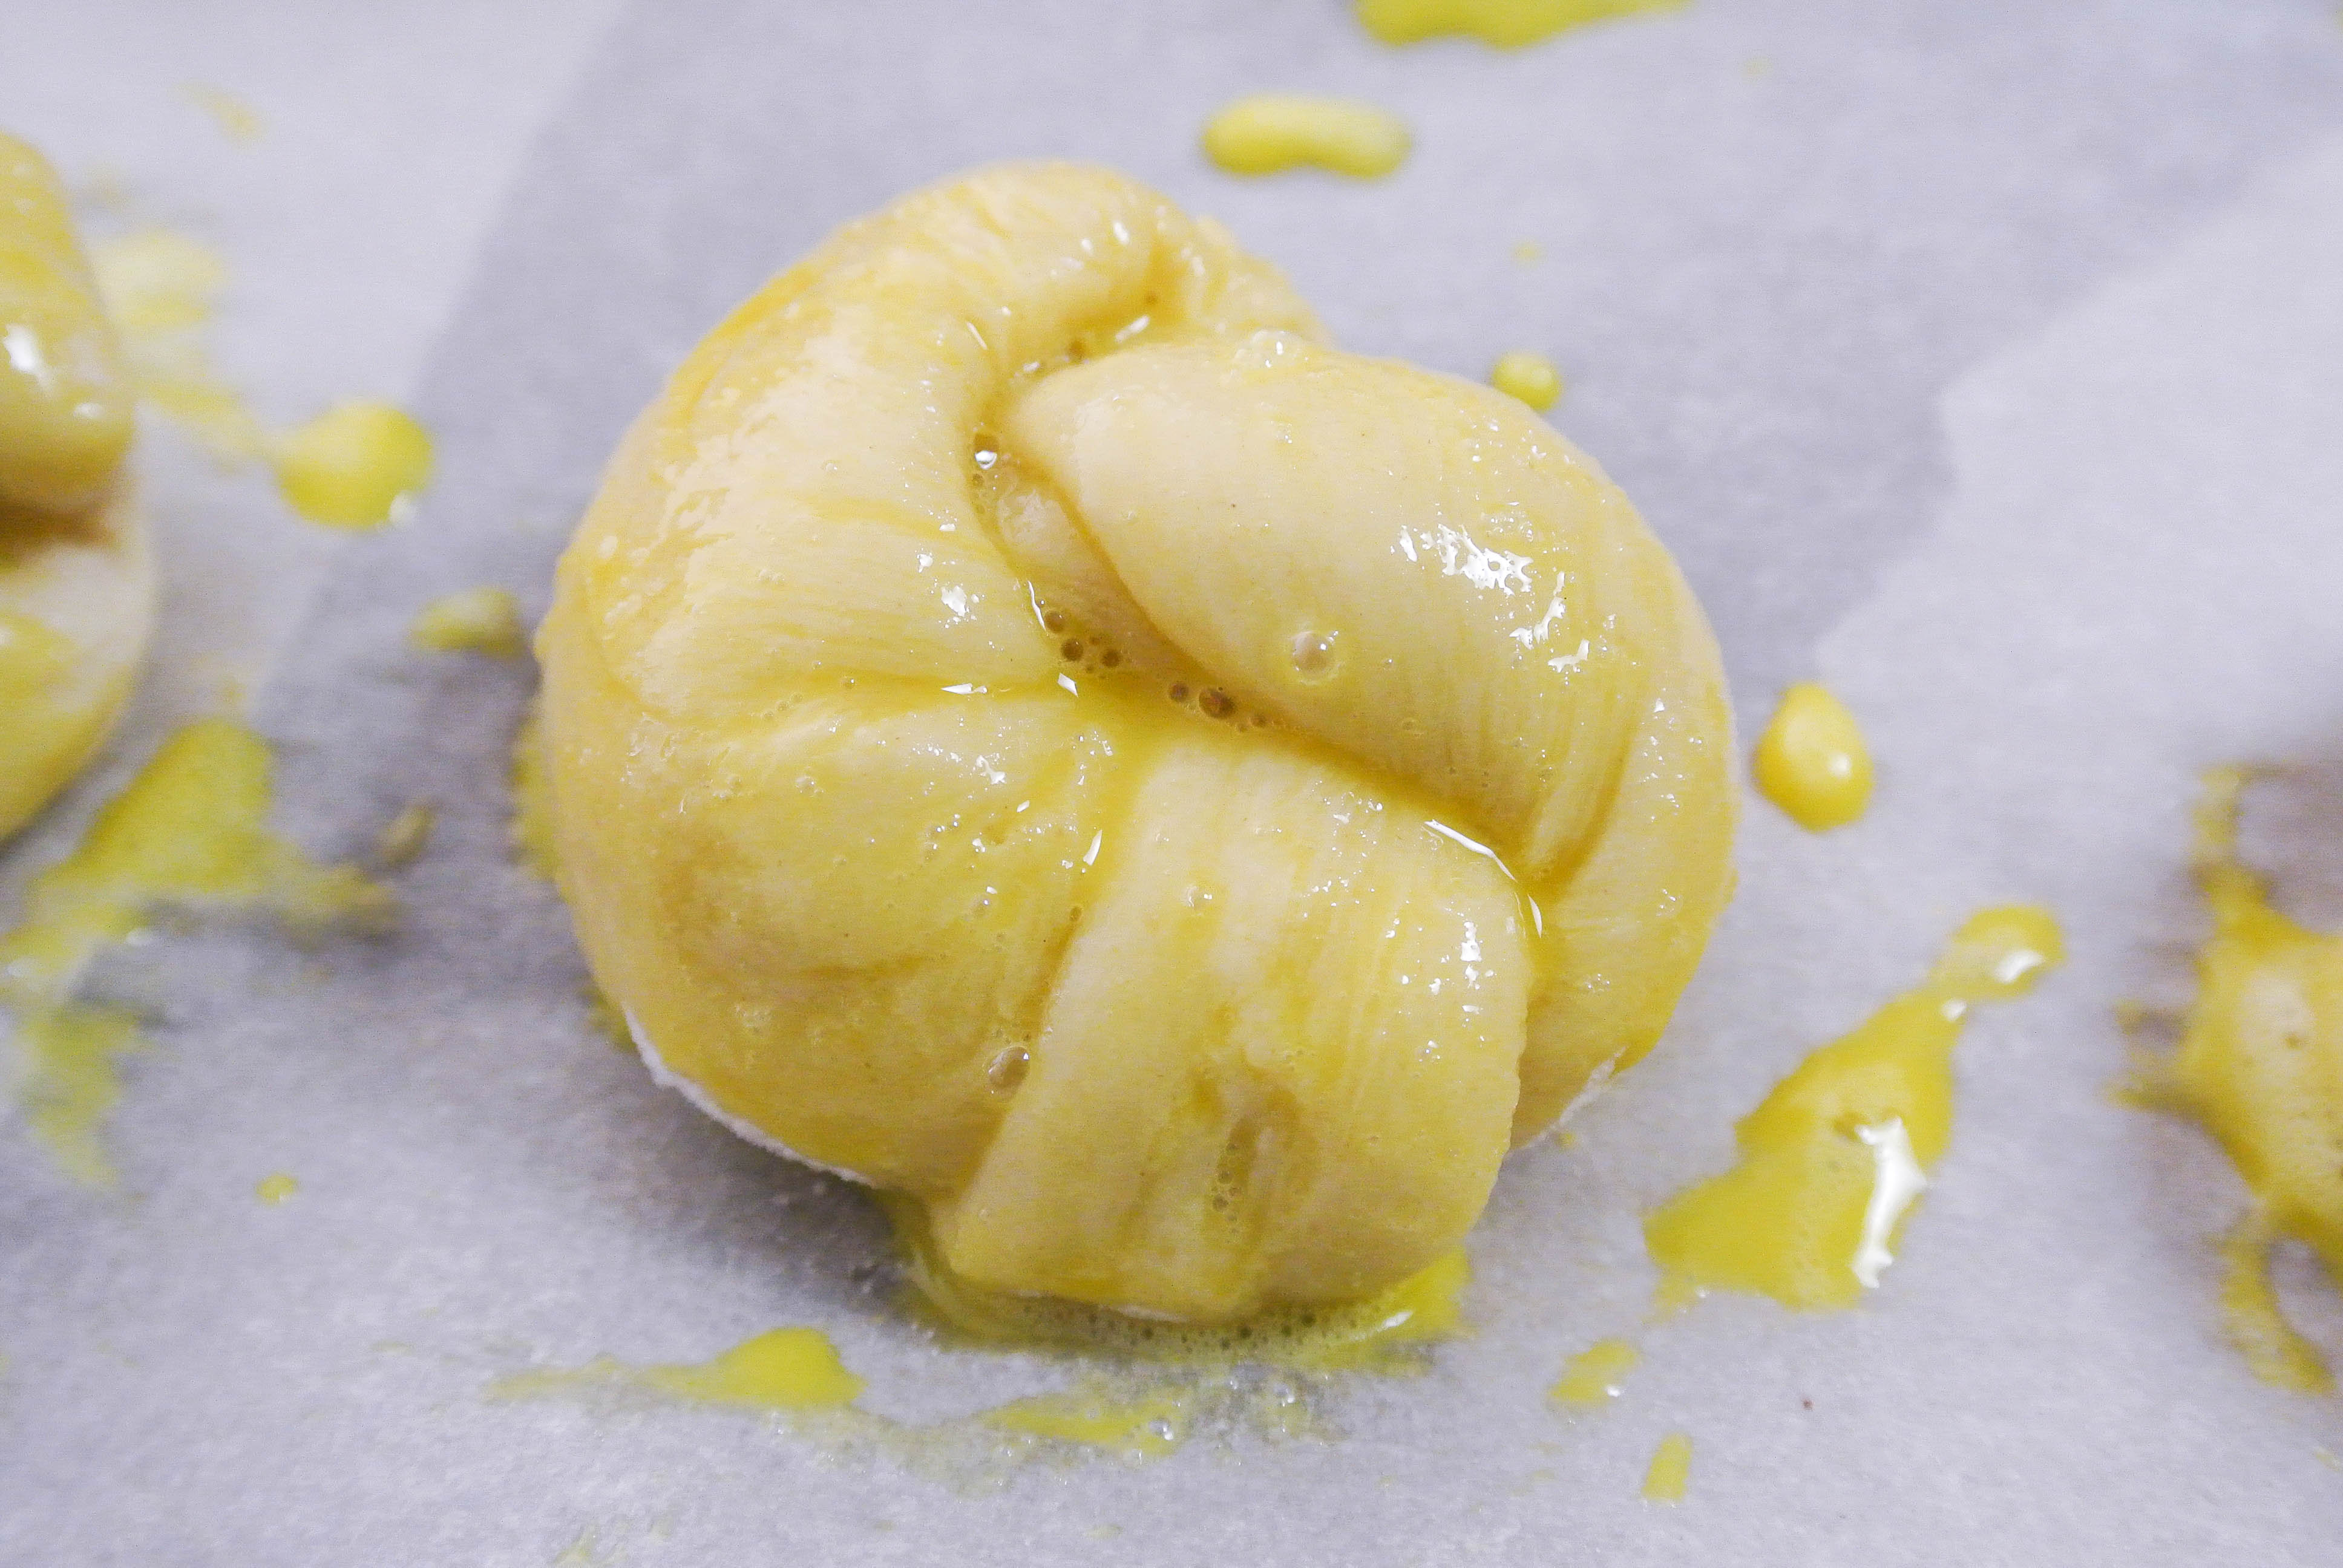
- * To make dinner rolls, make more strands, and tie them each in a knot, pinching the ends together and placing that pinched seam down on the parchment-covered baking sheet.
- Brush the dough (the large braid or the dinner rolls) with the egg wash.
- Let the dough rise, uncovered, for 30-45 more minutes.
- Place a rack in the middle of your oven, and preheat to 350. You will be baking for 40 minutes total, in two shifts.
- After the first 20 minutes, pull the challah out of the oven and re-brush it with the remaining egg wash, making sure to get in the little crevasses. {One of my favorite things about challah is that little part that gets exposed during baking – but you need to take this time to brush it with egg wash!}
- Return to the oven and bake for another 20 minutes. If the crust is getting too brown, place a piece of tin foil over it (the dough will still bake, but the crust will not get more brown under the foil).
- The dough is done when it sounds hollow when you tap on it (easier to hear when you tap on the bottom).
- Serve with pretty much anything – breakfast, lunch or dinner.
Original link: http://theshiksa.com/2010/08/25/challah-bread-part-1-the-blessing-and-the-dough/comment-page-2/#comments
 This post is part of the monthly “link up party” called Our Growing Edge, which is an online way to connect food bloggers and inspire us to try new things. Our Growing Edge is the brain child of Genie from Bunny Eats Design, and I am the hostess this month. The posts for November’s link up can be found here. New for me with this post: A four-strand braid for challah!




As the mom of Ms Utensilcrock.com I can attest to how beautiful and delicious everything was!! If you have patience, make this challah!!