In the spring of 2012, I bought a camera. I was headed on a fancy vacation with very dramatic scenery, and thought this was as good an excuse as any to buy myself a grown-up camera. Cue the dramatic scenery!
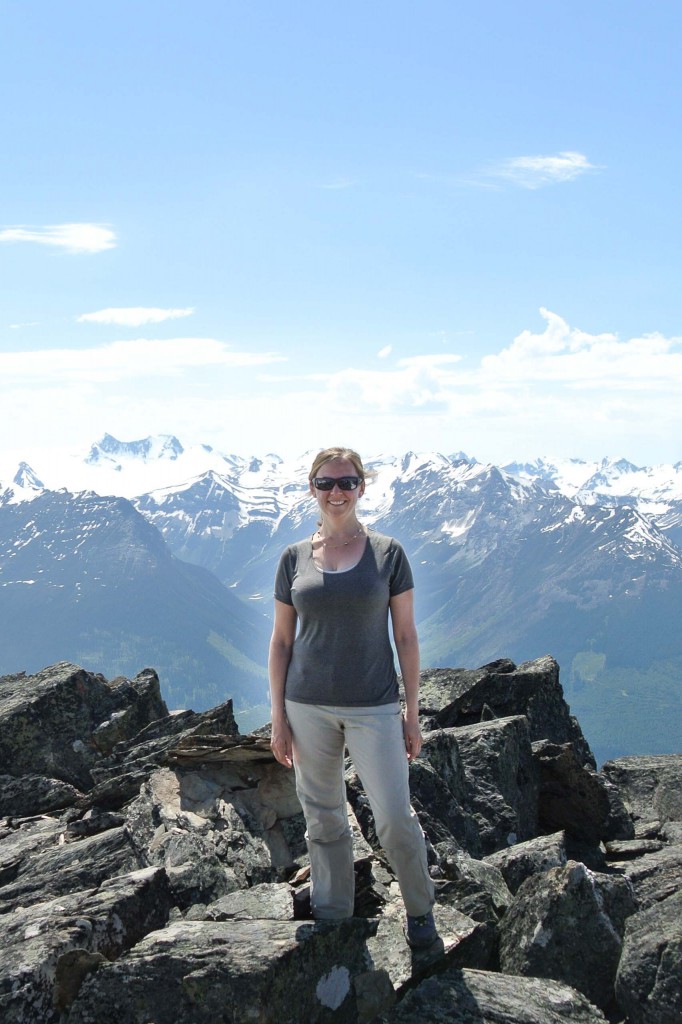
It really looks like I’m standing in front of a fake background, doesn’t it?
My only specifications were:
- Light in weight / as small as possible. I was going to be hiking on my vacation, and didn’t want or need extra weight holding me back. I had enough obstacles to overcome with my genetics – both the low degree of athleticism and high degree of risk aversion.
- Medium in price. Pretty much just enough to signify to myself that I had, in fact, purchased a grown-up camera, without going too crazy.
- From Costco. In case I panicked and realized it was a more expensive proposition than needed and wanted to return it. I believe that at the time, Costco had a 90-day window for return of cameras. Worked for me.
I ended up buying this guy:
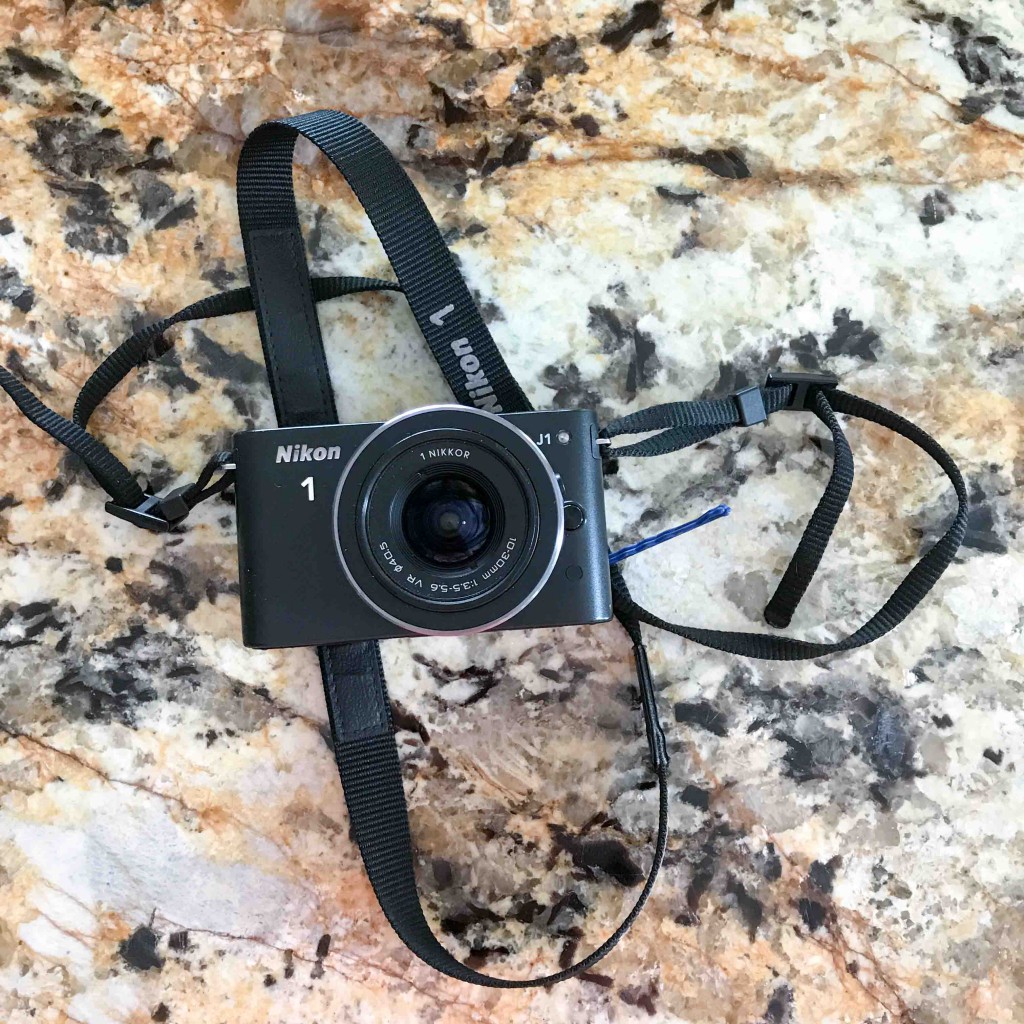
It’s a Nikon 1 J1. It came with two lenses, which I thought was very fancy – I had never had a detachable lens before, and reviews I read about the J1 (mostly after the purchase, if I am remembering correctly) were pretty positive. I figured the stakes were pretty low, and anything I bought would be better than the point-and-shoot that I had. {The bobby pins for when my bangs get in my face were not included in the Costco kit.}
In the spring of 2012, I also snapped a shot that ended up being my first blog post, the not-particularly-famous “Smoothie” {number of views as of this post: 35}, and also this early-on “Applesauce” (which I posted the next year when I remembered I had taken that photo). But I wasn’t sold yet on having a blog. I used my camera periodically for vacations and events, and when I decided to jump into My Utensil Crock during an extended stay in Charlottesville, Virginia, I figured hey, why don’t I try my fancy grown-up camera?
Sometimes my camera knew what I wanted it to do, and I had beginner’s luck with some photos. I had a few accepted to Foodgawker, which – in 2013 to a fledging cooking blogger – was a holy grail.
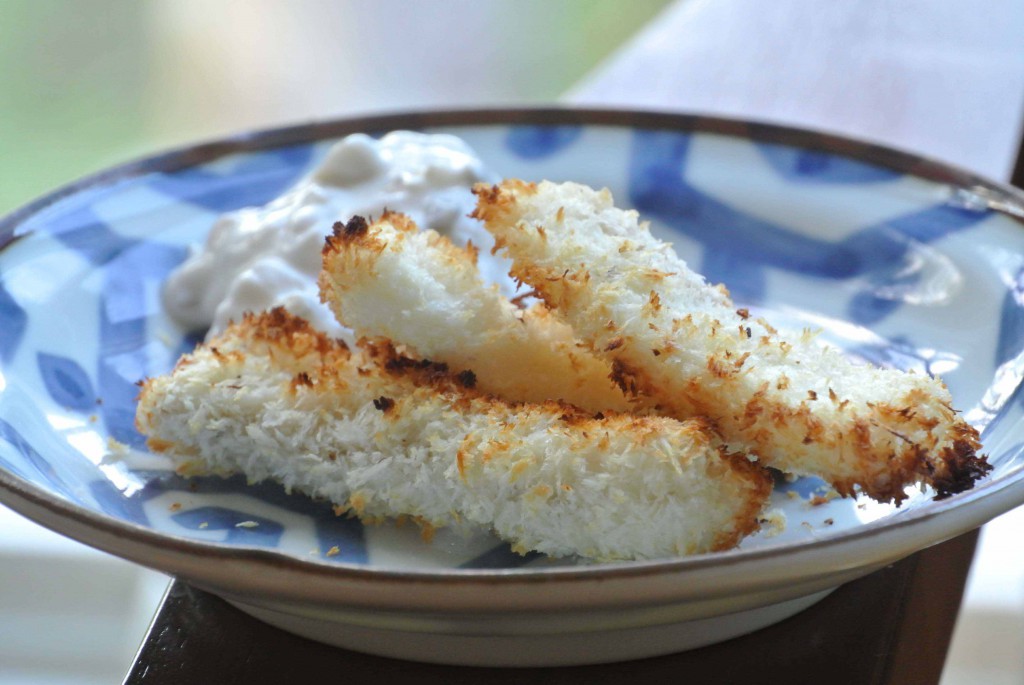
In the photo above, I didn’t even know what f-stop meant. I was just thrilled that my camera knew that I wanted the tartar sauce to be out of focus.
Sometimes my camera didn’t do what I wanted. A lot of photos were blurry (and not in an artistic way). I didn’t know why. I didn’t understand reflections, props, or styling. In the photo below, I was just eager to get the post up.
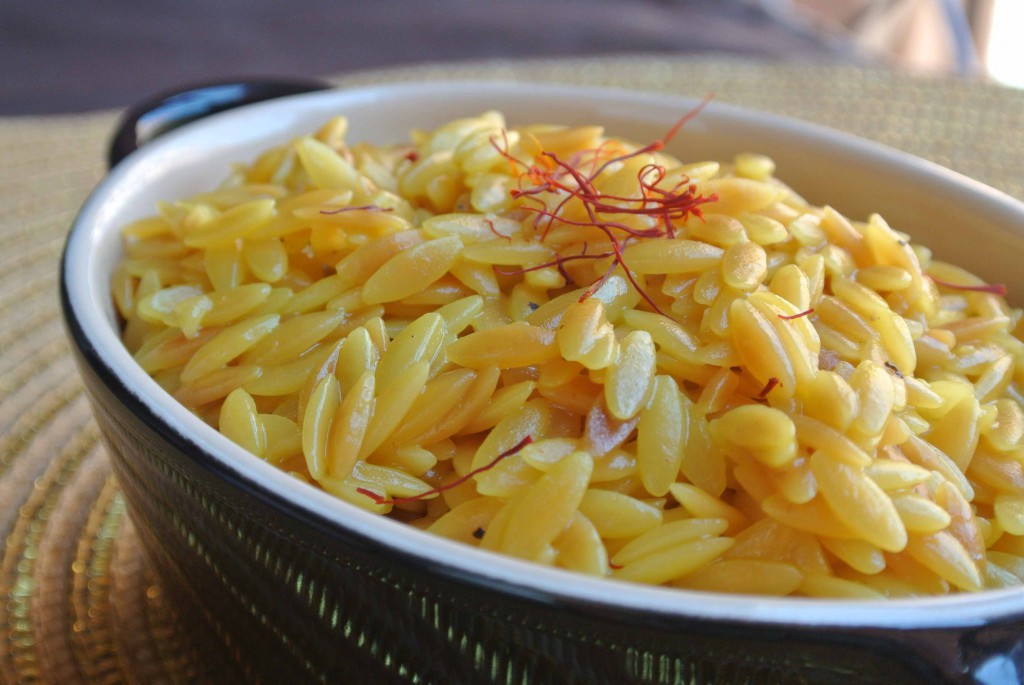
Rest assured, I have since updated the photos in my Saffron Orzo post!
My brother once grabbed my camera to take pictures of his kids doing something active, and shoved it back to me calling it a “terrible camera.” Yeah, those pictures of his kids were pret-ty bad. Neither of us knew enough about camera settings to know that photos of food and photos of kids required much different settings. Turns out, it wasn’t the camera’s fault.
In the past 5 years, my photography has improved leaps and bounds. Sure, I only understand about 1/3 of the photography words that I should (and that’s being generous); and there are some days I just can’t get the right shot. But through practice on my own and some professional training, I am in a good place.
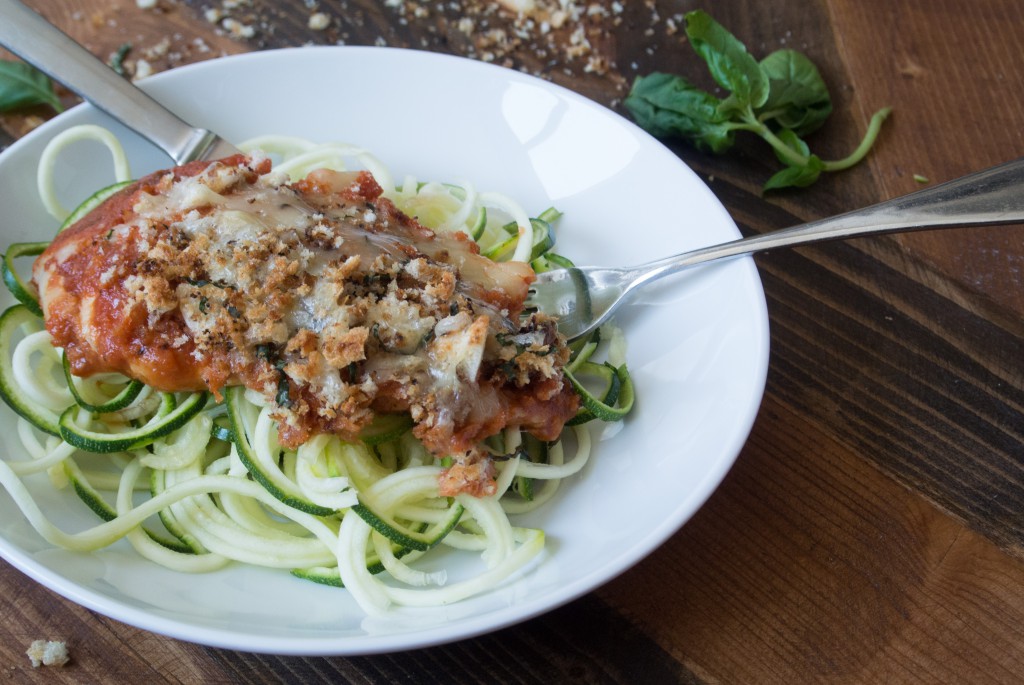
I thought I would share with you some of my “aha!” moments that have greatly improved my photography. They derive from every aspect of food blogging photography, and range from little tips to bigger techniques and even mindsets. I hope you enjoy!
Here are the three photography workshops I have attended in the past two years. I am thinking about doing a more in-detail post about Lindsay and Clare/Becky’s workshops. Stay tuned…
- Pinch of Yum – Lindsay Ostrom
- July 2017, Minnesota
- 13-person 2-day workshop
- “Food + Camera Food Photography Workshop”
- Clare Barboza
- May 2017, Vermont
- 3-person workshop “Natural Light Food Photography Workshop”
- 5-person workshop with Clare and Becky Selengut, “Food Styling and Photography Workshop”
- Lyn Morton
- October 2015, Washington DC
- Private session
- Contact him through this site to see if he is still doing private sessions. It looks like he may have evolved!
10 Tips and Techniques That Improved My Food Photography
by Becky Brown, My Utensil Crock
- Shooting in raw: The take-home message on this one is: just do it. I picked up this tip from Sally’s Baking Addiction, and I didn’t know what it meant, but I did it. I know just a liiiittle more about it now, enough to know that if you shoot in raw, an image will be about 10-11MB in size. Large JPGs are, at most, half of that. So raw is giving you more “raw data” to work with (see what they did there?), which many/most use to edit after the fact. It’s like working with pointillism (raw) rather than a tile mosaic (JPG). It’s easier to adjust pointillism by adding a few dots where you need them – but you may not be able to jam another tile into your mosaic.
- Learning new things about my camera in increments: At my one-on-one with Lyn, he set my camera to be “aperture priority,” and taught me how to adjust the aperture (f-stop), and I was happy. He also reassured me that my camera could take a picture of anything, and I didn’t need anything fancier. So it seemed the onus was on me. After time, I was ready for more, and bit by bit, I am learning more about manual mode. After my workshop with Lindsay, I am officially “off” of aperture priority (I miss it sometimes 🙁 ). My camera doesn’t have the ability to move ISO (the image sensor that lets in light) in the small increments that other cameras do, but it works. And I have now experimented with a tripod, and continuous shooting mode! “Pour shots,” get ready for me.
- Being more deliberate: There is only so much time for my deliberation, given my day job and intense capacity for taking on projects and all, but the two two-day workshops I attended helped me slow down a bit. No, I can’t have a “prop room” in my apartment, but I can put aside the dishes and implements I will most likely be using so I’m not digging through my cabinets for every shoot. No, I don’t have a wall of “backgrounds” sorted by color and texture, but I can be more thoughtful about procuring a few, and finding an unobtrusive and accessible place for them in my apartment.
- Moving my kitchen table: Honestly, this one was a total forehead-smacker. I have a table in front of a huge window in my apartment. The table is large, but not heavy, and I have wood floors so furniture moves quite easily. At Clare’s workshop, which was in her home, she told us to find light wherever we wanted, and to feel free to move coffee tables, chairs, whatever. We literally tore the place up every hour and put it back together again before moving on (see #5 below). When I lamented that I had good light but I had a dining room table in the window, she looked at me calmly. I am pretty sure I had just flipped a coffee table over in her family room. … And I have been moving my table for every photo shoot since. This takes literally 20 seconds.
- Budgeting one hour per shoot: This was a big mental one that Clare inadvertently helped with. Maybe it was vertent, I don’t know, but we had a pace of approximately one hour per subject at her workshops. At home, I am always rushing myself because Ihavetogetmoreinandhavetobeatthelightandhavetomakeanotherdish. Now, I tell myself that if I don’t have an hour, I will just have to wait. An hour is more than enough time to take a cooked recipe, plate it, set up a background and some props, shoot it, realize I need to change 3 things, change them, shoot again, and – here’s the kicker – clean up. I can’t tell you how many times I had run out of my place with a sink full of dishes. Devoting this hour to whatever needs to be done has been a game-changer for me.
- Learning about the Lightroom adjustment brush: I had no idea that I could edit just part of a photo. I had wanted to many times, but for some reason I never took the next step to figure out how. Big thanks to Lindsay for showing us this amazing tool.
- Understanding the color wheel: I grew up in a very neutral-toned house. It was (and is) beautiful, but it’s very … brown. The pops of color are pretty much metallic tones of gold and bronze. So imagine my shock when I learned that if you plate something red or orange on turquoise, for some reason, it just looks right. Learning to check the opposite side of the color wheel has been hugely helpful for me, and I love this tool: https://www.sessions.edu/color-calculator/ (use complementary to see what I mean). Thanks to Clare for giving us a creamy tomato soup to work with, and helping me through my prop selection.
- Understanding movement and flow: I didn’t know how to put this in words until my Vermont workshop. There, Clare watched me shooting and showed me how components of the photograph, like silverware, napkins, and even pieces of food in the dish, should lead the viewer’s eye to the focus of the photo.
- Using food to make food prettier: Lyn asked me what I wanted to work on in my private session. I said: Casseroles, Tan soups, and Meat. Poor guy. At the time, I had a philosophy (that I didn’t identify as a “philosophy” per se) that I didn’t want to try to make anything look other than it did when I was done cooking it. Decent logic for a home cook trying to be practical – but not for a cooking blogger. My style is attainable food, but there is nothing wrong with it being prettied up a bit. I would never use something not edible and try to pass it off as food. Clare, Becky, and Lindsay all confirmed their views that only food belongs on the plate, but there is some artistic license that comes along with that – as long as it’s all food on the plate. Within that, my style and my boundaries are my own. I try to always state in my posts if any garnishments have been added other than what is listed in the recipe.
- Faking it until I make it / Finding 1 amazing photo and knowing I have it in me: There will always be improvements to make. At their workshop, Clare and Becky showed us photos from one of Becky’s cookbooks from 8 years ago (if I recall correctly) that they were going to re-shoot. I saw what they meant, and I saw their progress over the years. But 8 years ago, they MADE A COOKBOOK with the photos they were mocking. They were GREAT 8 years ago. And so, with me. There are days where I take a photo and say “eh, it’s fine,” and then a year later I am shaking my head at it. That’s ok. And sometimes there are shots that are unintentionally completely perfect. That’s (certainly) ok too, and shows me that practice makes perfect, but there can be great stops along the way.
If you have any “aha” moments of your own to contribute, I would love if you would leave them in the comments.






Tell me what you think!