Well hi there. It’s great to see you again.
It’s been roughly two months since I last posted, and if I am being honest, I didn’t cook much during that time. Even with an unprecedented 5-week shut down, life has been busy around here {more on that soon}. But it’s time for a resolution to get back into the kitchen, and maybe, just maybe, to bring lunch to work a few days each week.
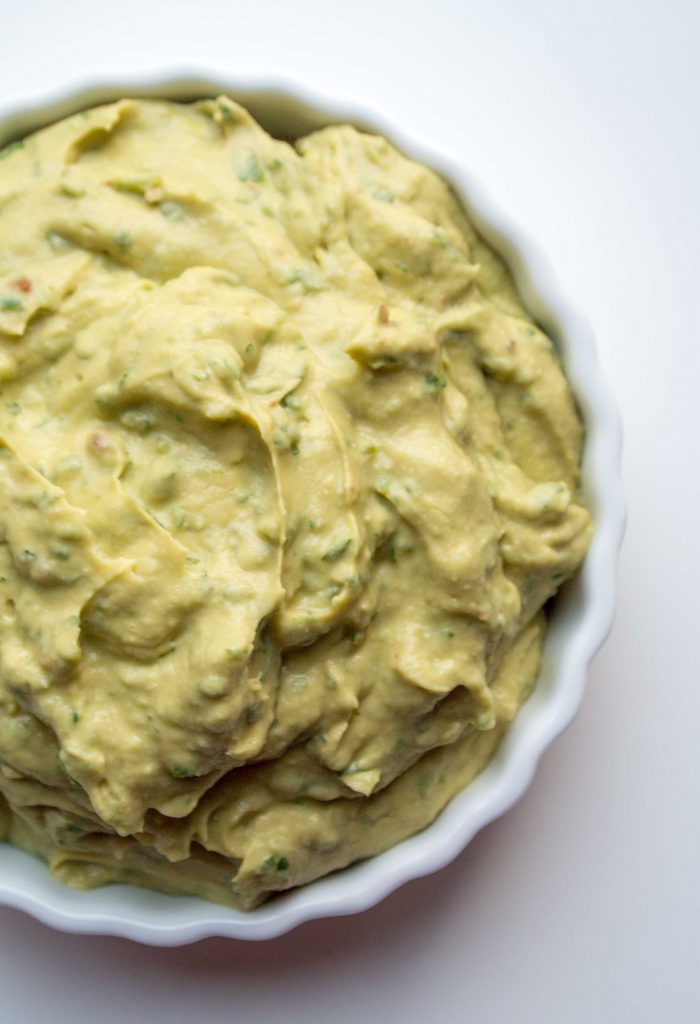
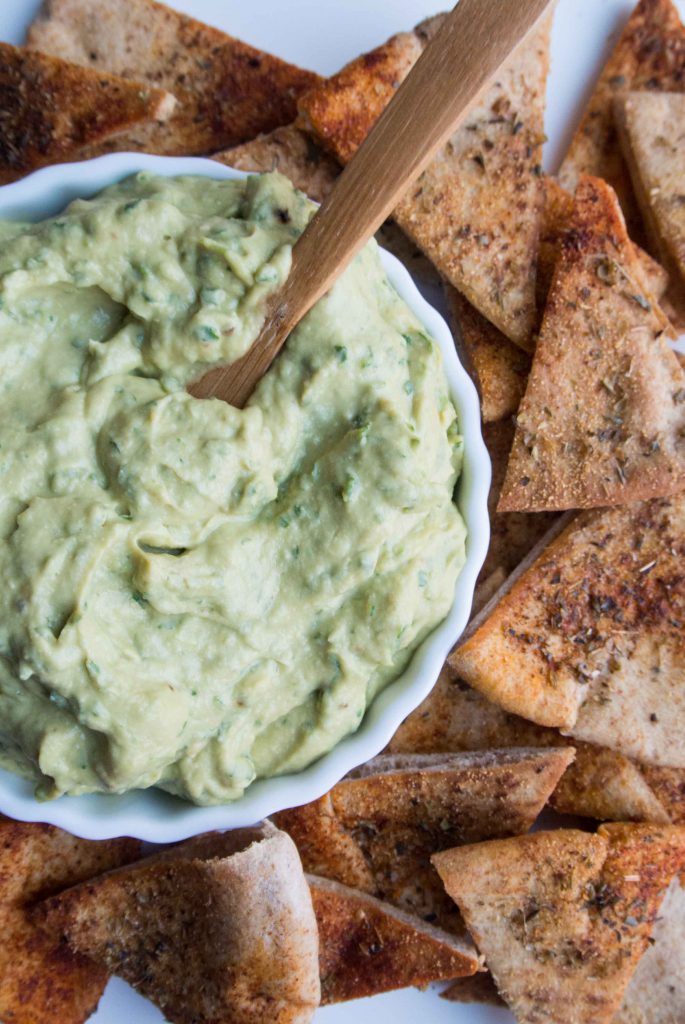
I have had this Guacahummus recipe in the chute for years. I had a few year period there where I just could not get into hummus, but it’s back on the menu. And this recipe can be a dip for veggies or chips, or a spread for a sandwich, and is appropriate when either guacamole or hummus would be called for. A topping on a salad? Go for it. Served with herbed chips? Ideal.
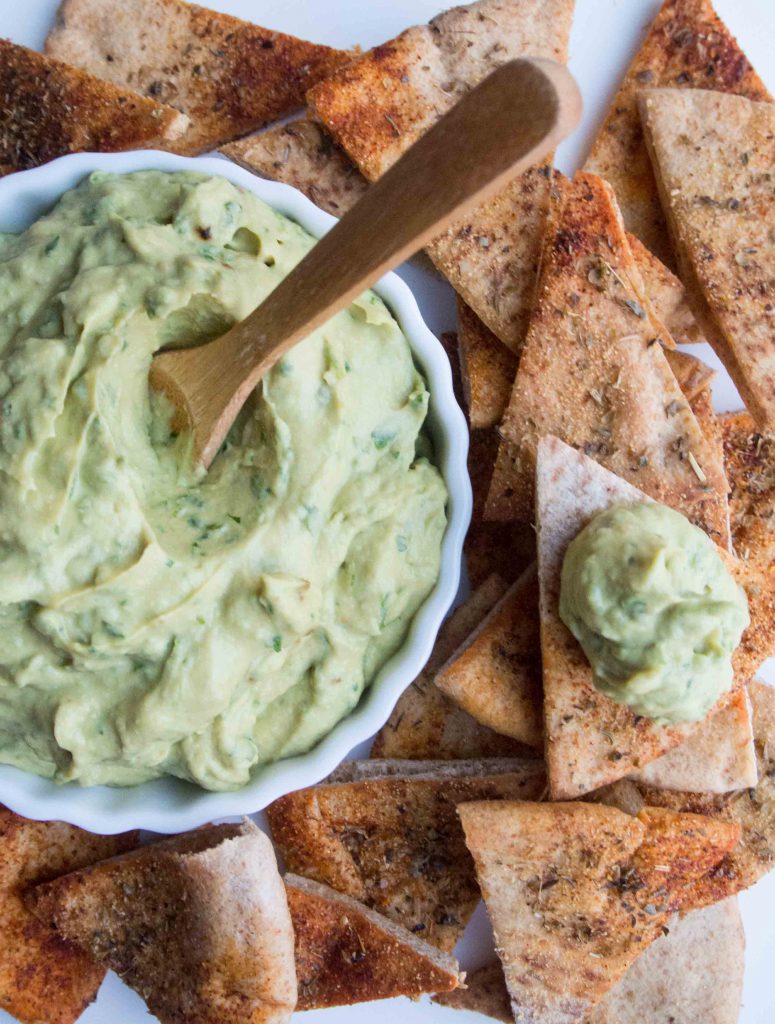
If you have made hummus before, this recipe simply adds the guaca-ingredients. If you have not made hummus before, well settle on in. All of the ingredients are just added to a food processor, and with a whirrrr you’re done.
There is a discussion in the hummus-making world about how to make the creamiest hummus. I won’t pretend to have fully researched this, but I will tell you that I find that removing the outer husk (unclear if that’s the right word) from canned garbanzo beans makes for a very smooth hummus. Yes, it’s an extra step, but it takes about 7-10 minutes, making your total hands-on time about 10-13 minutes.
Please forgive the less than stellar quality of these photos, taken years ago on a hummus-making binge, apparently when I had no sense of color or light balance.
Hold the chickpea / garbanzo bean between your thumb and fingers:

Pinch off the outside layer:
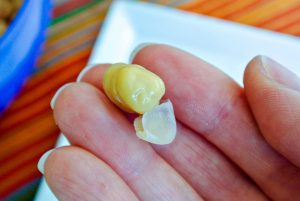
Look at all the extra thick material that won’t be weighing down your smooth hummus:
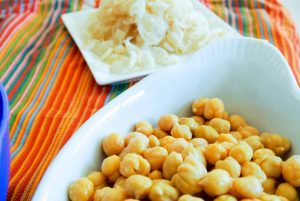
A few notes… Is there extra fiber or are there nutrients in the outer layer? I can’t say. And if making this for yourself, you may not mind a more textured hummus. But for company, removing the outer layer may be worth it for presentation. Also, I have found it helpful to kind of “rough up” the beans while they are in a colander, rubbing them all against each other (I roll them between my hands); when you do so, this loosens that outer layer, and makes it easier to remove. ALSO, once you get the hang of it, try removing the outer layer from 2-3 garbanzo beans at a time.
That’s all I got for ya.
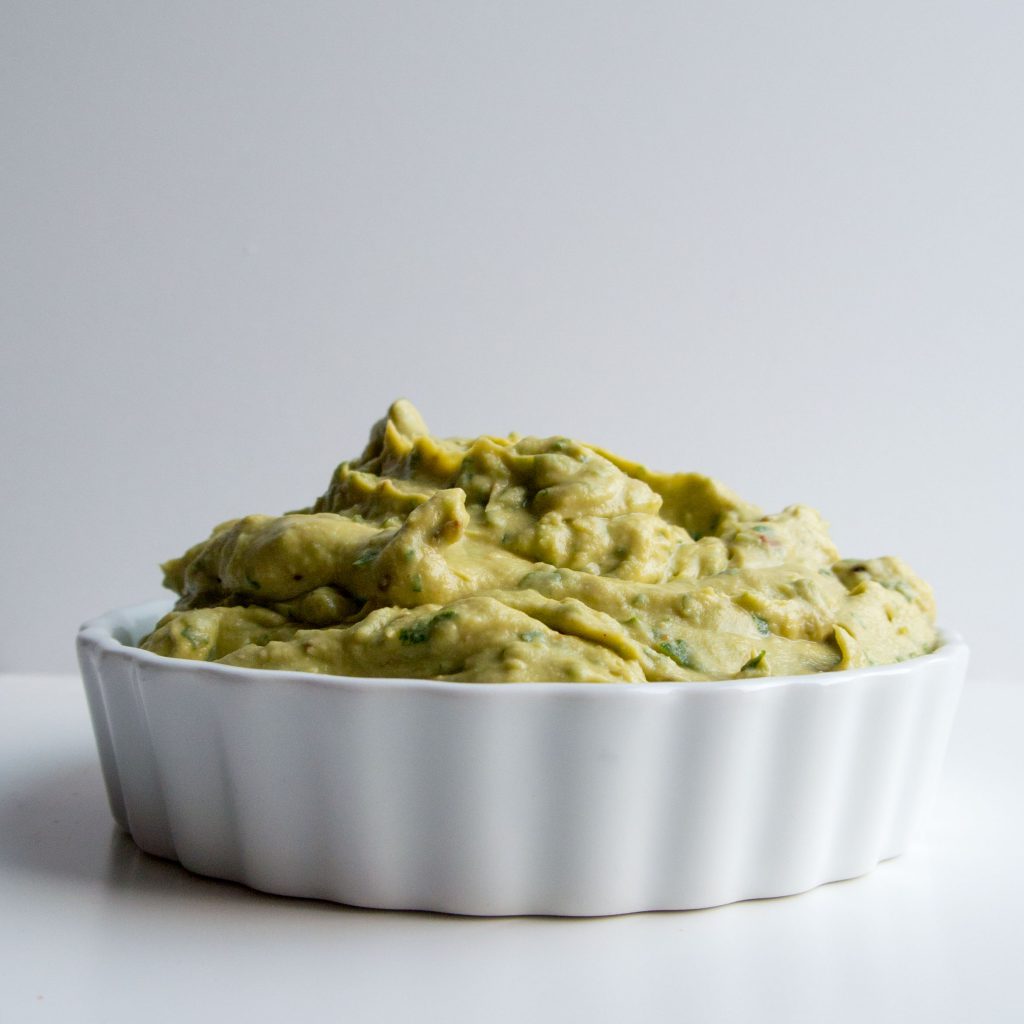
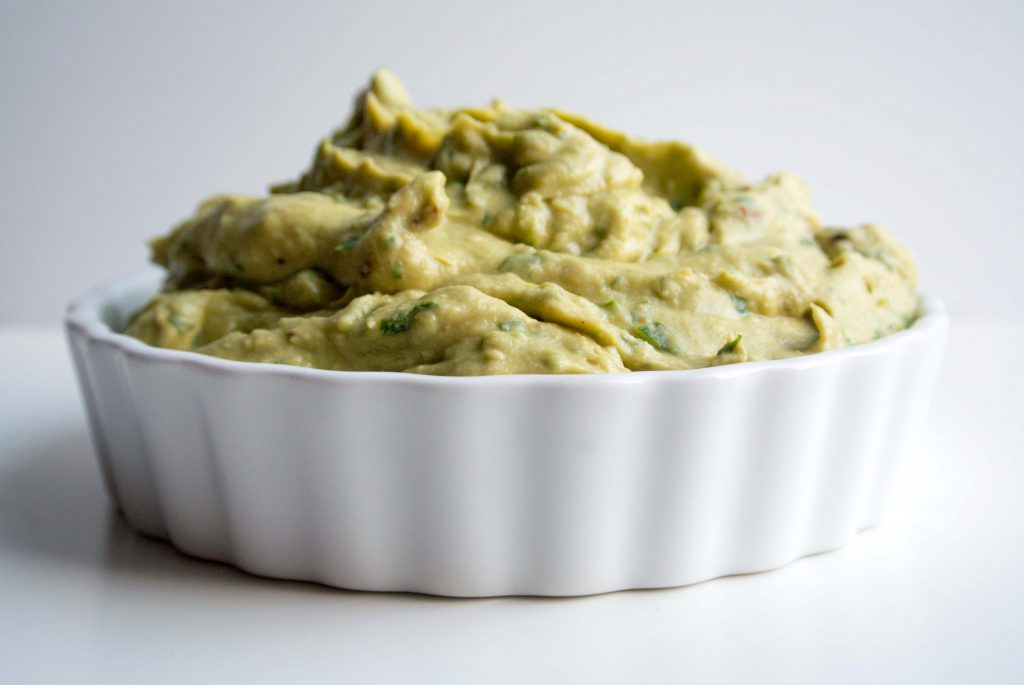
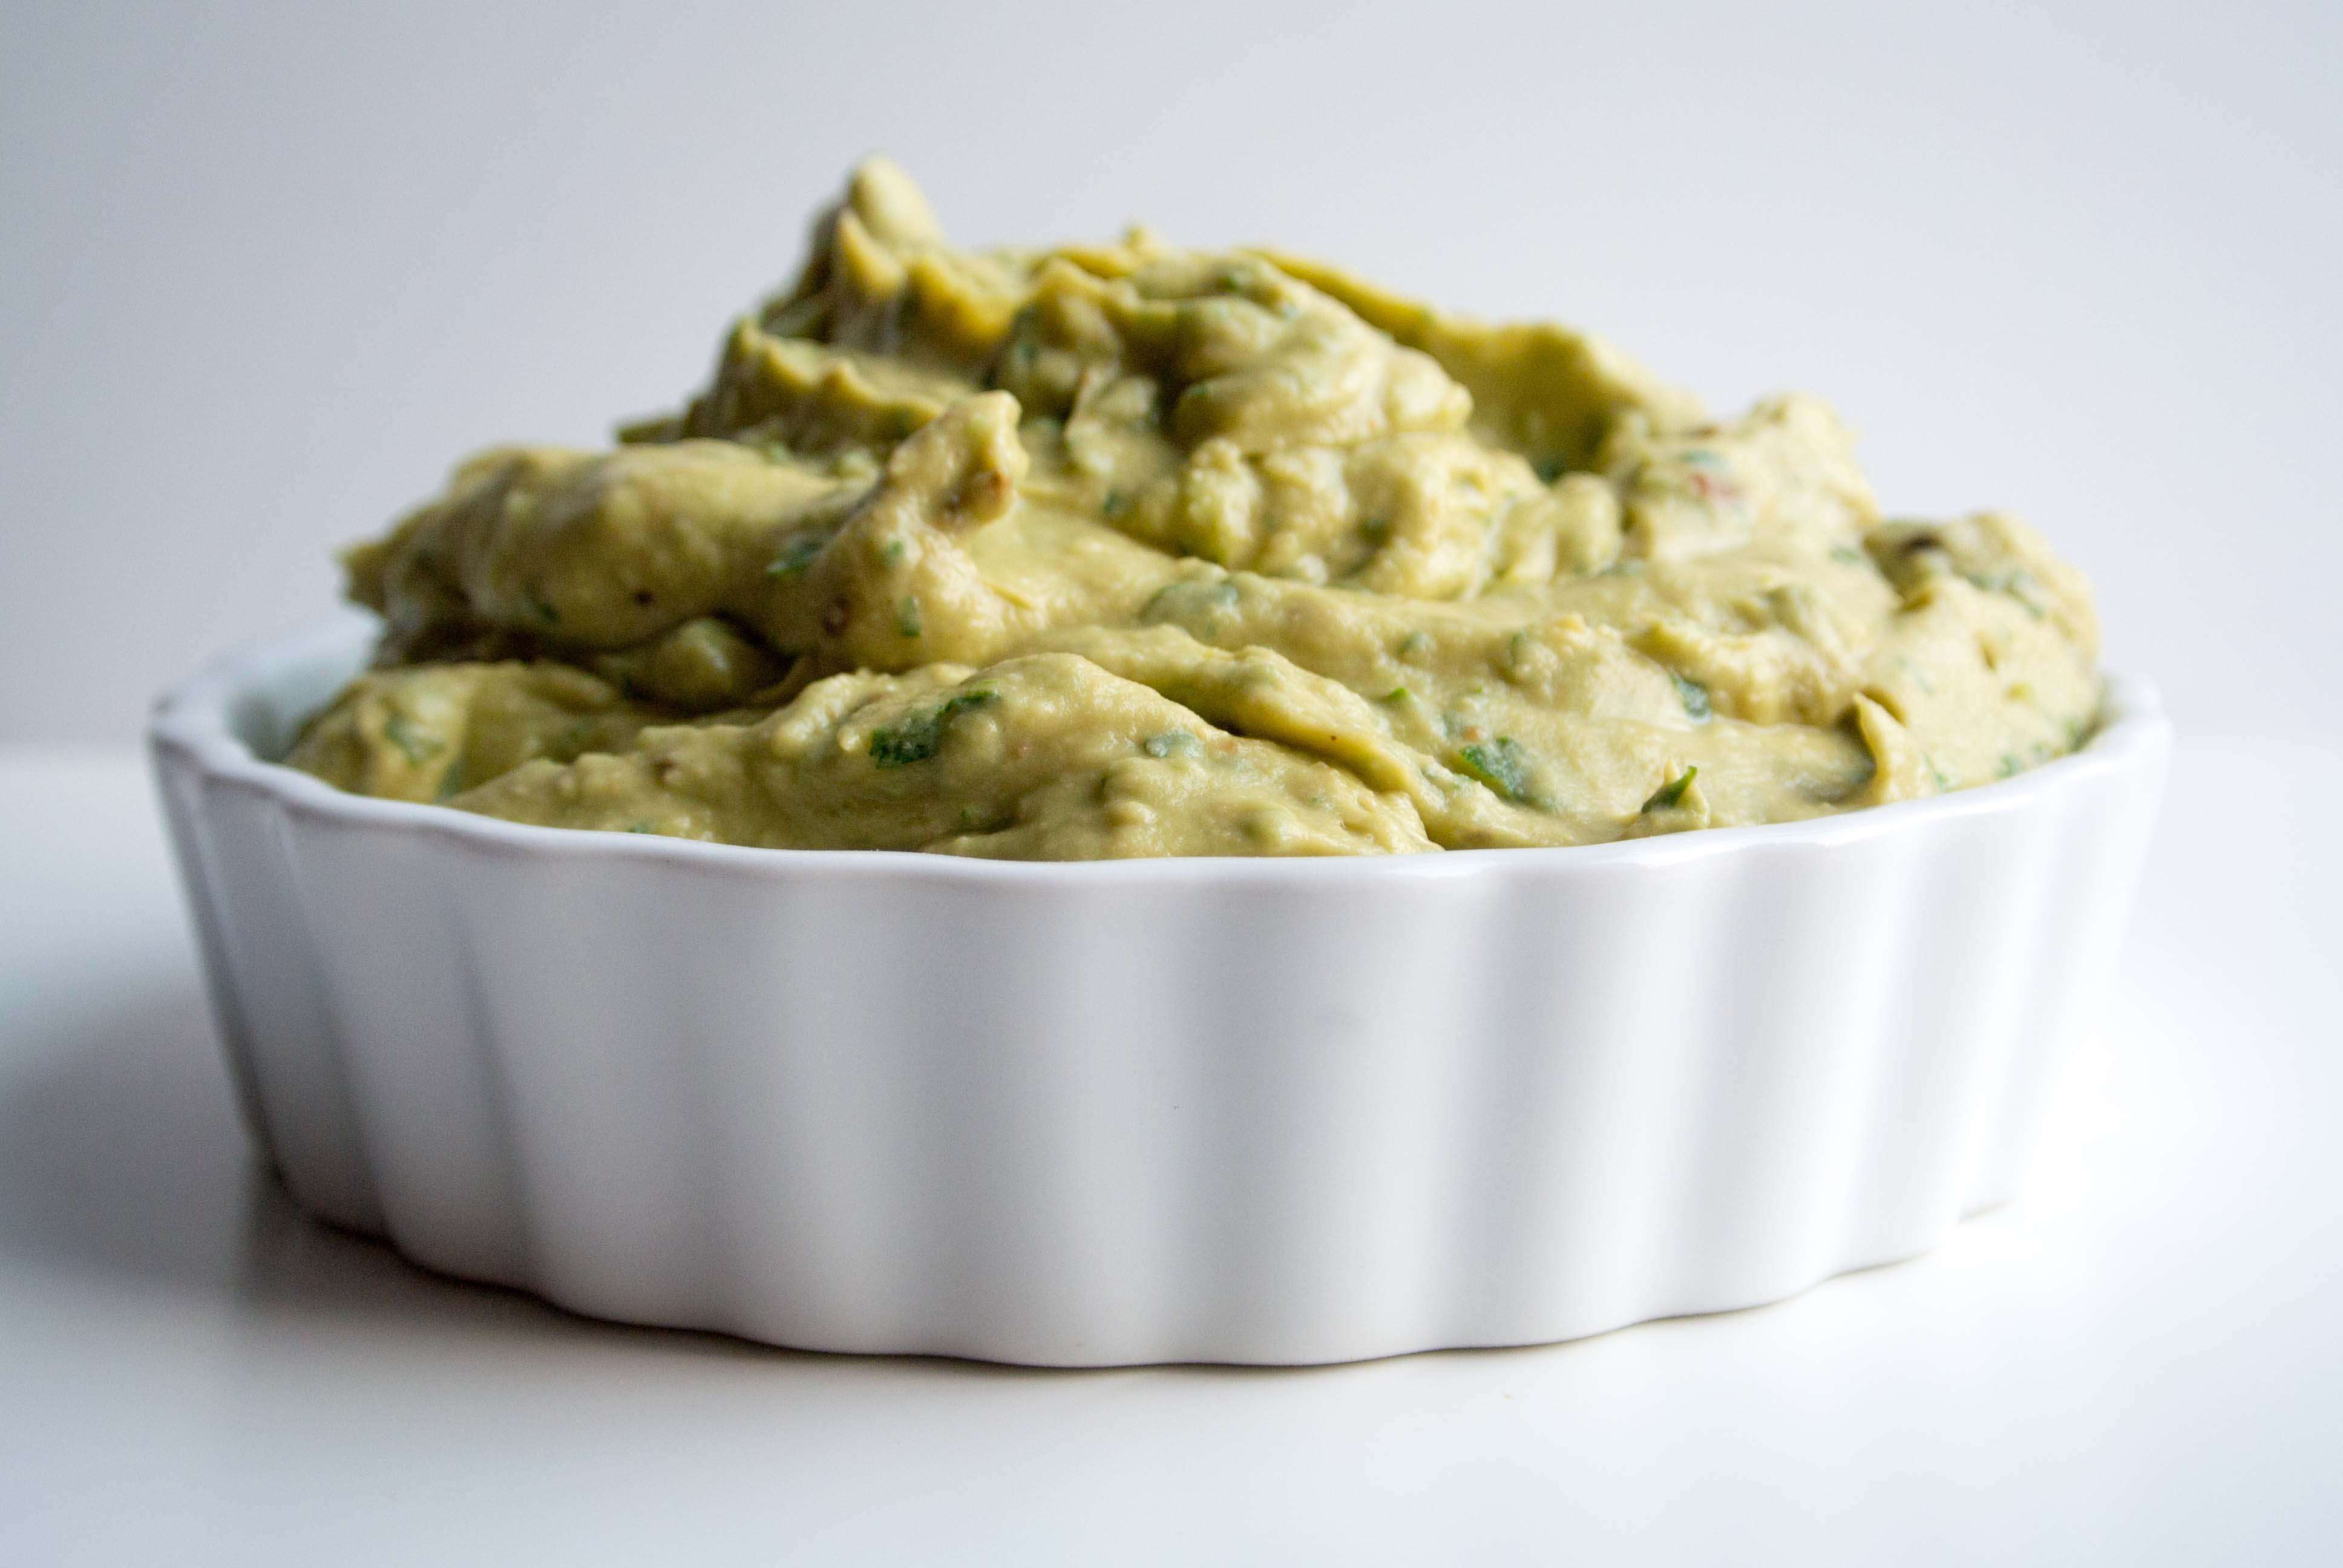
That, and this ramekin full of Guacahummus.
- 15-ounce can of garbanzo beans (chick peas)
- 1 ripe avocado
- 1 head roasted garlic (or 2-3 cloves raw)
- 1 Tablespoon tahini
- 1.5 Tablespoon lime juice
- .5 cup fresh cilantro
- kosher salt
- water
- Rinse the garbanzo beans and place them in a food processor. For a smoother result, remove the outer shells before placing them in the food processor.
- Add the flesh of the avocado, and the garlic (if you roasted a head of garlic, squeeze out the roasted cloves), and tahini.
- Process the ingredients for a few seconds. Scrape down the bowl with a spatula, and add the lime juice - I like to do this using the drizzle hole in the top of the food processor.
- Open the food processor again, scrape down the bowl, and add the cilantro and salt to your liking.
- Process until the cilantro is distributed throughout the mixture.
- Drizzle water through the hole in the top until it reaches the desired consistency, scraping down periodically to make sure everything gets blended and incorporated.
- Serve with tortilla chips, pita chips, or vegetables, or use as a spread on a sandwich or wrap.
Roasting garlic will add 45 minutes.
Both can be done 1-2 days in advance.
This is a My Utensil Crock original recipe. Not that there aren’t similar recipes out there, I just can’t point to a recipe or two for inspiration…





Ouah! Really looks delicious. I am trying this this weekend as I am having some girlfriends at home this coming week.